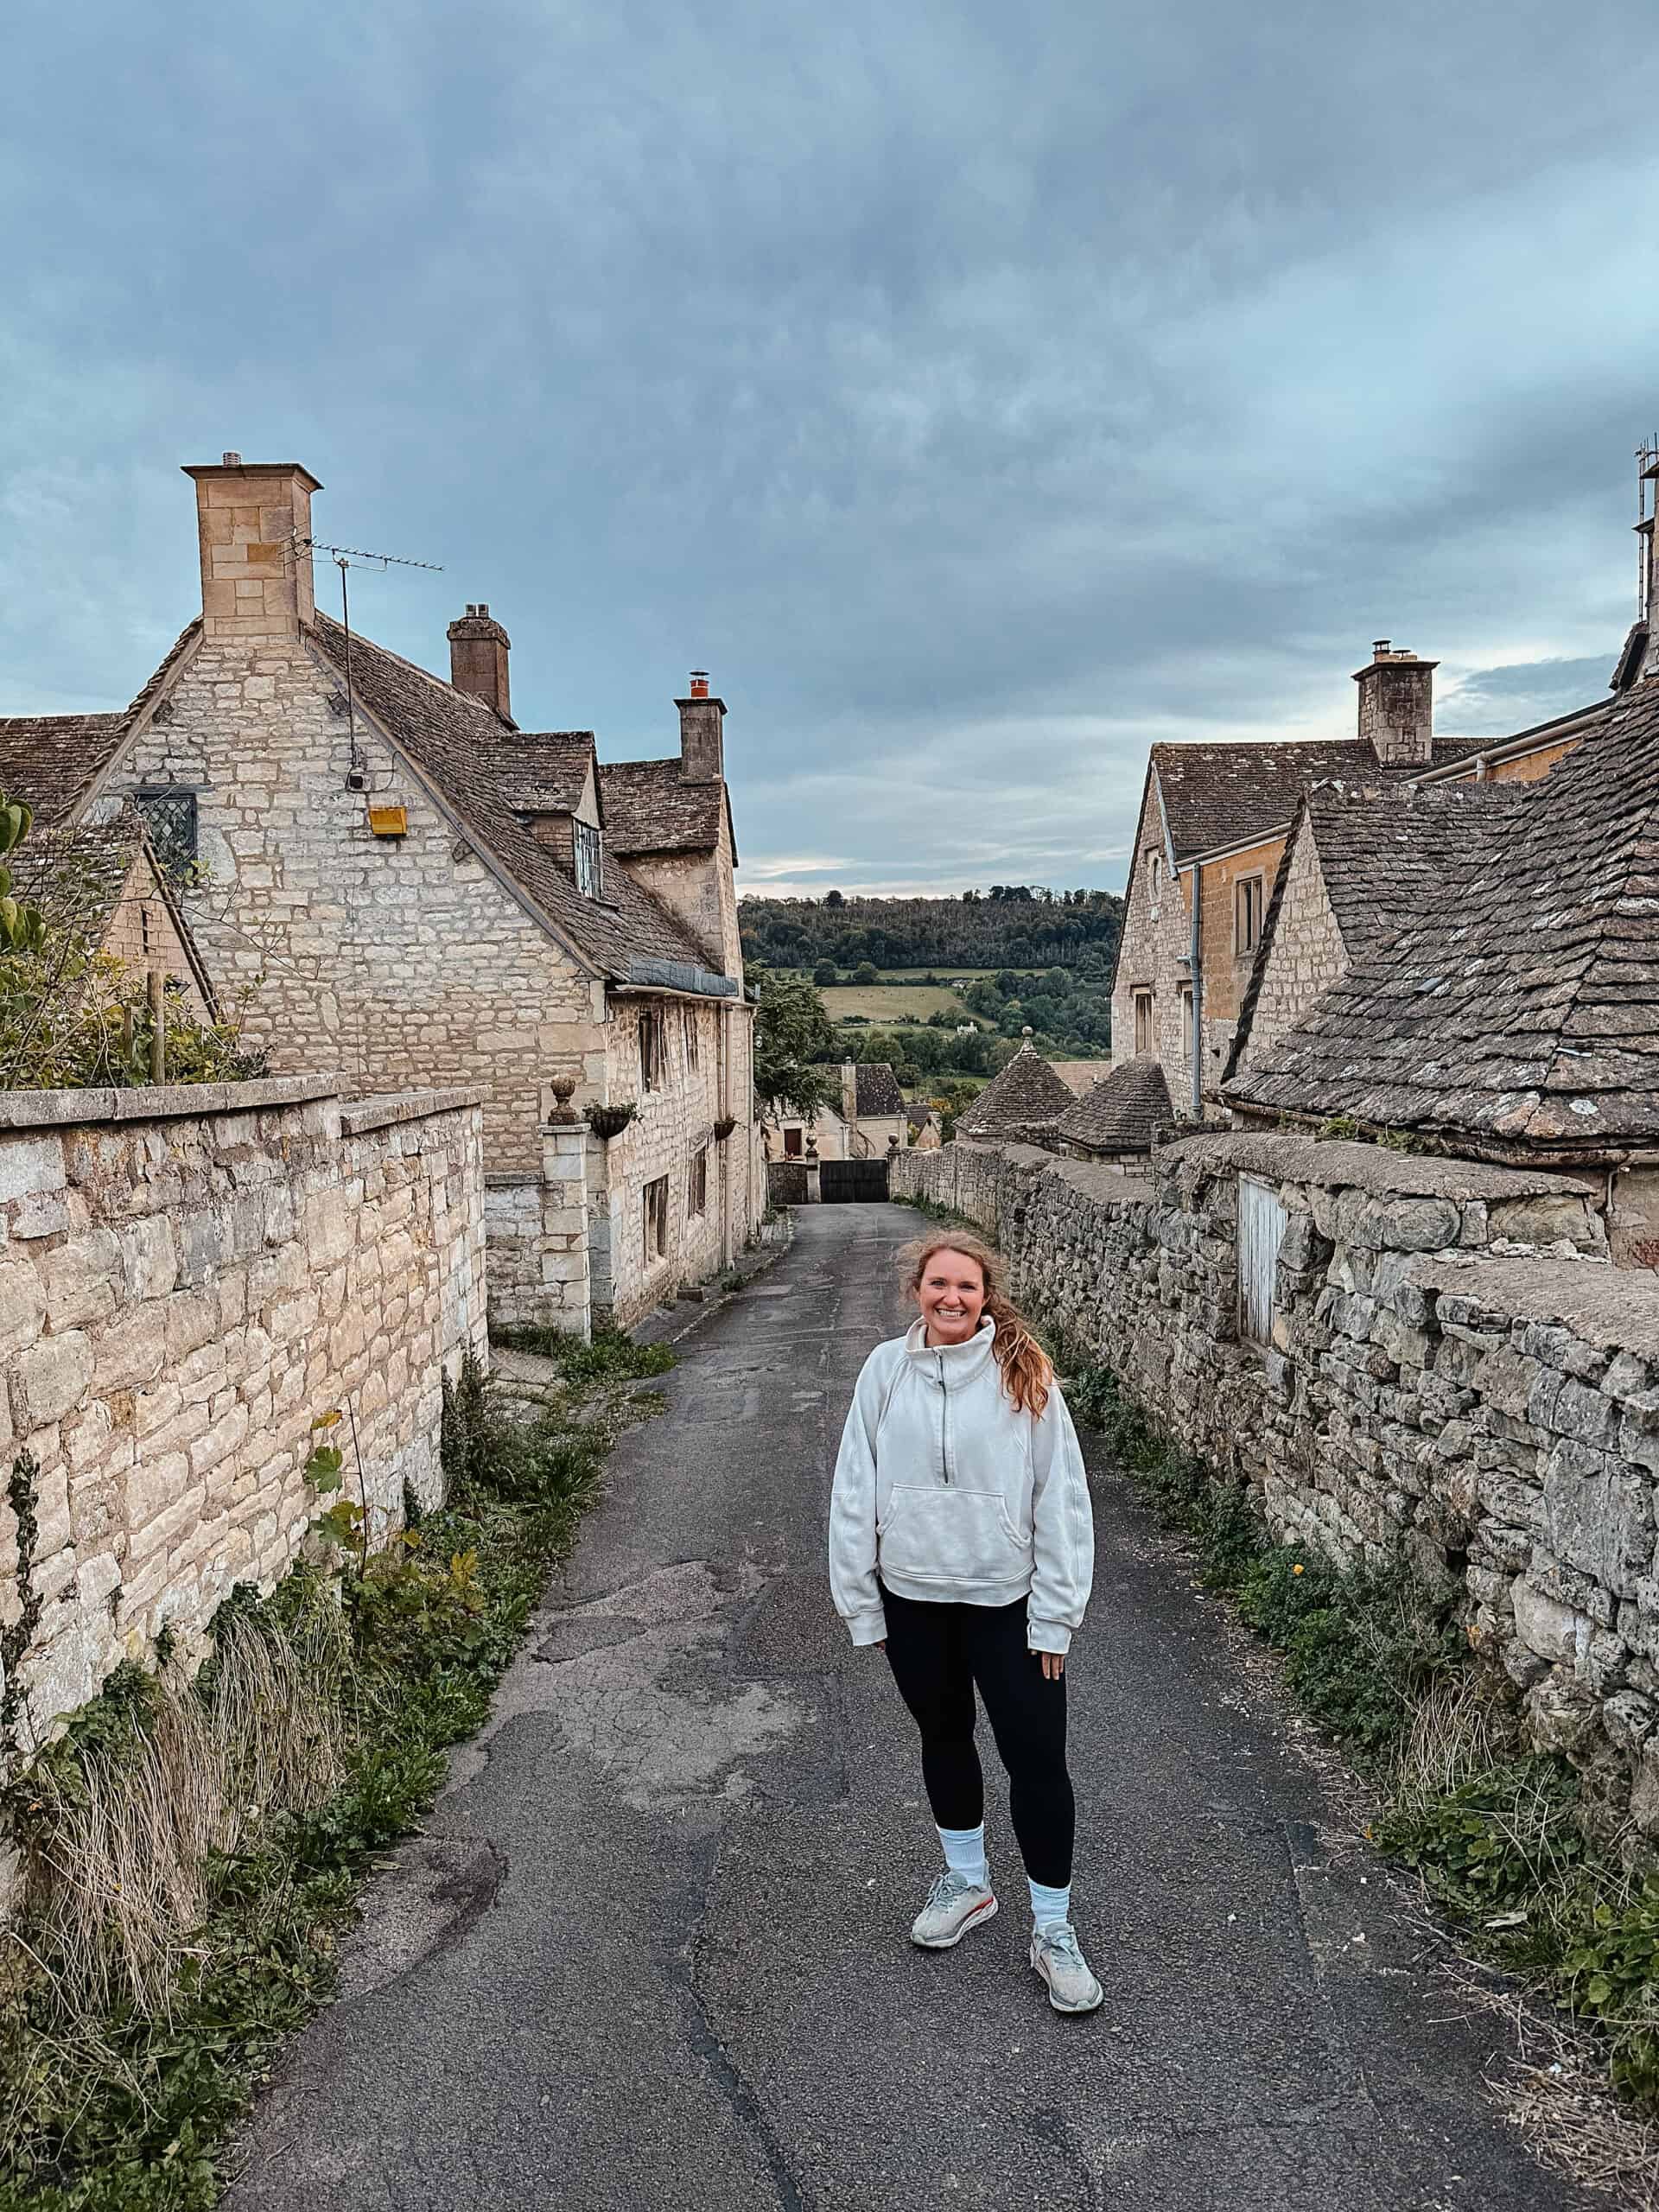
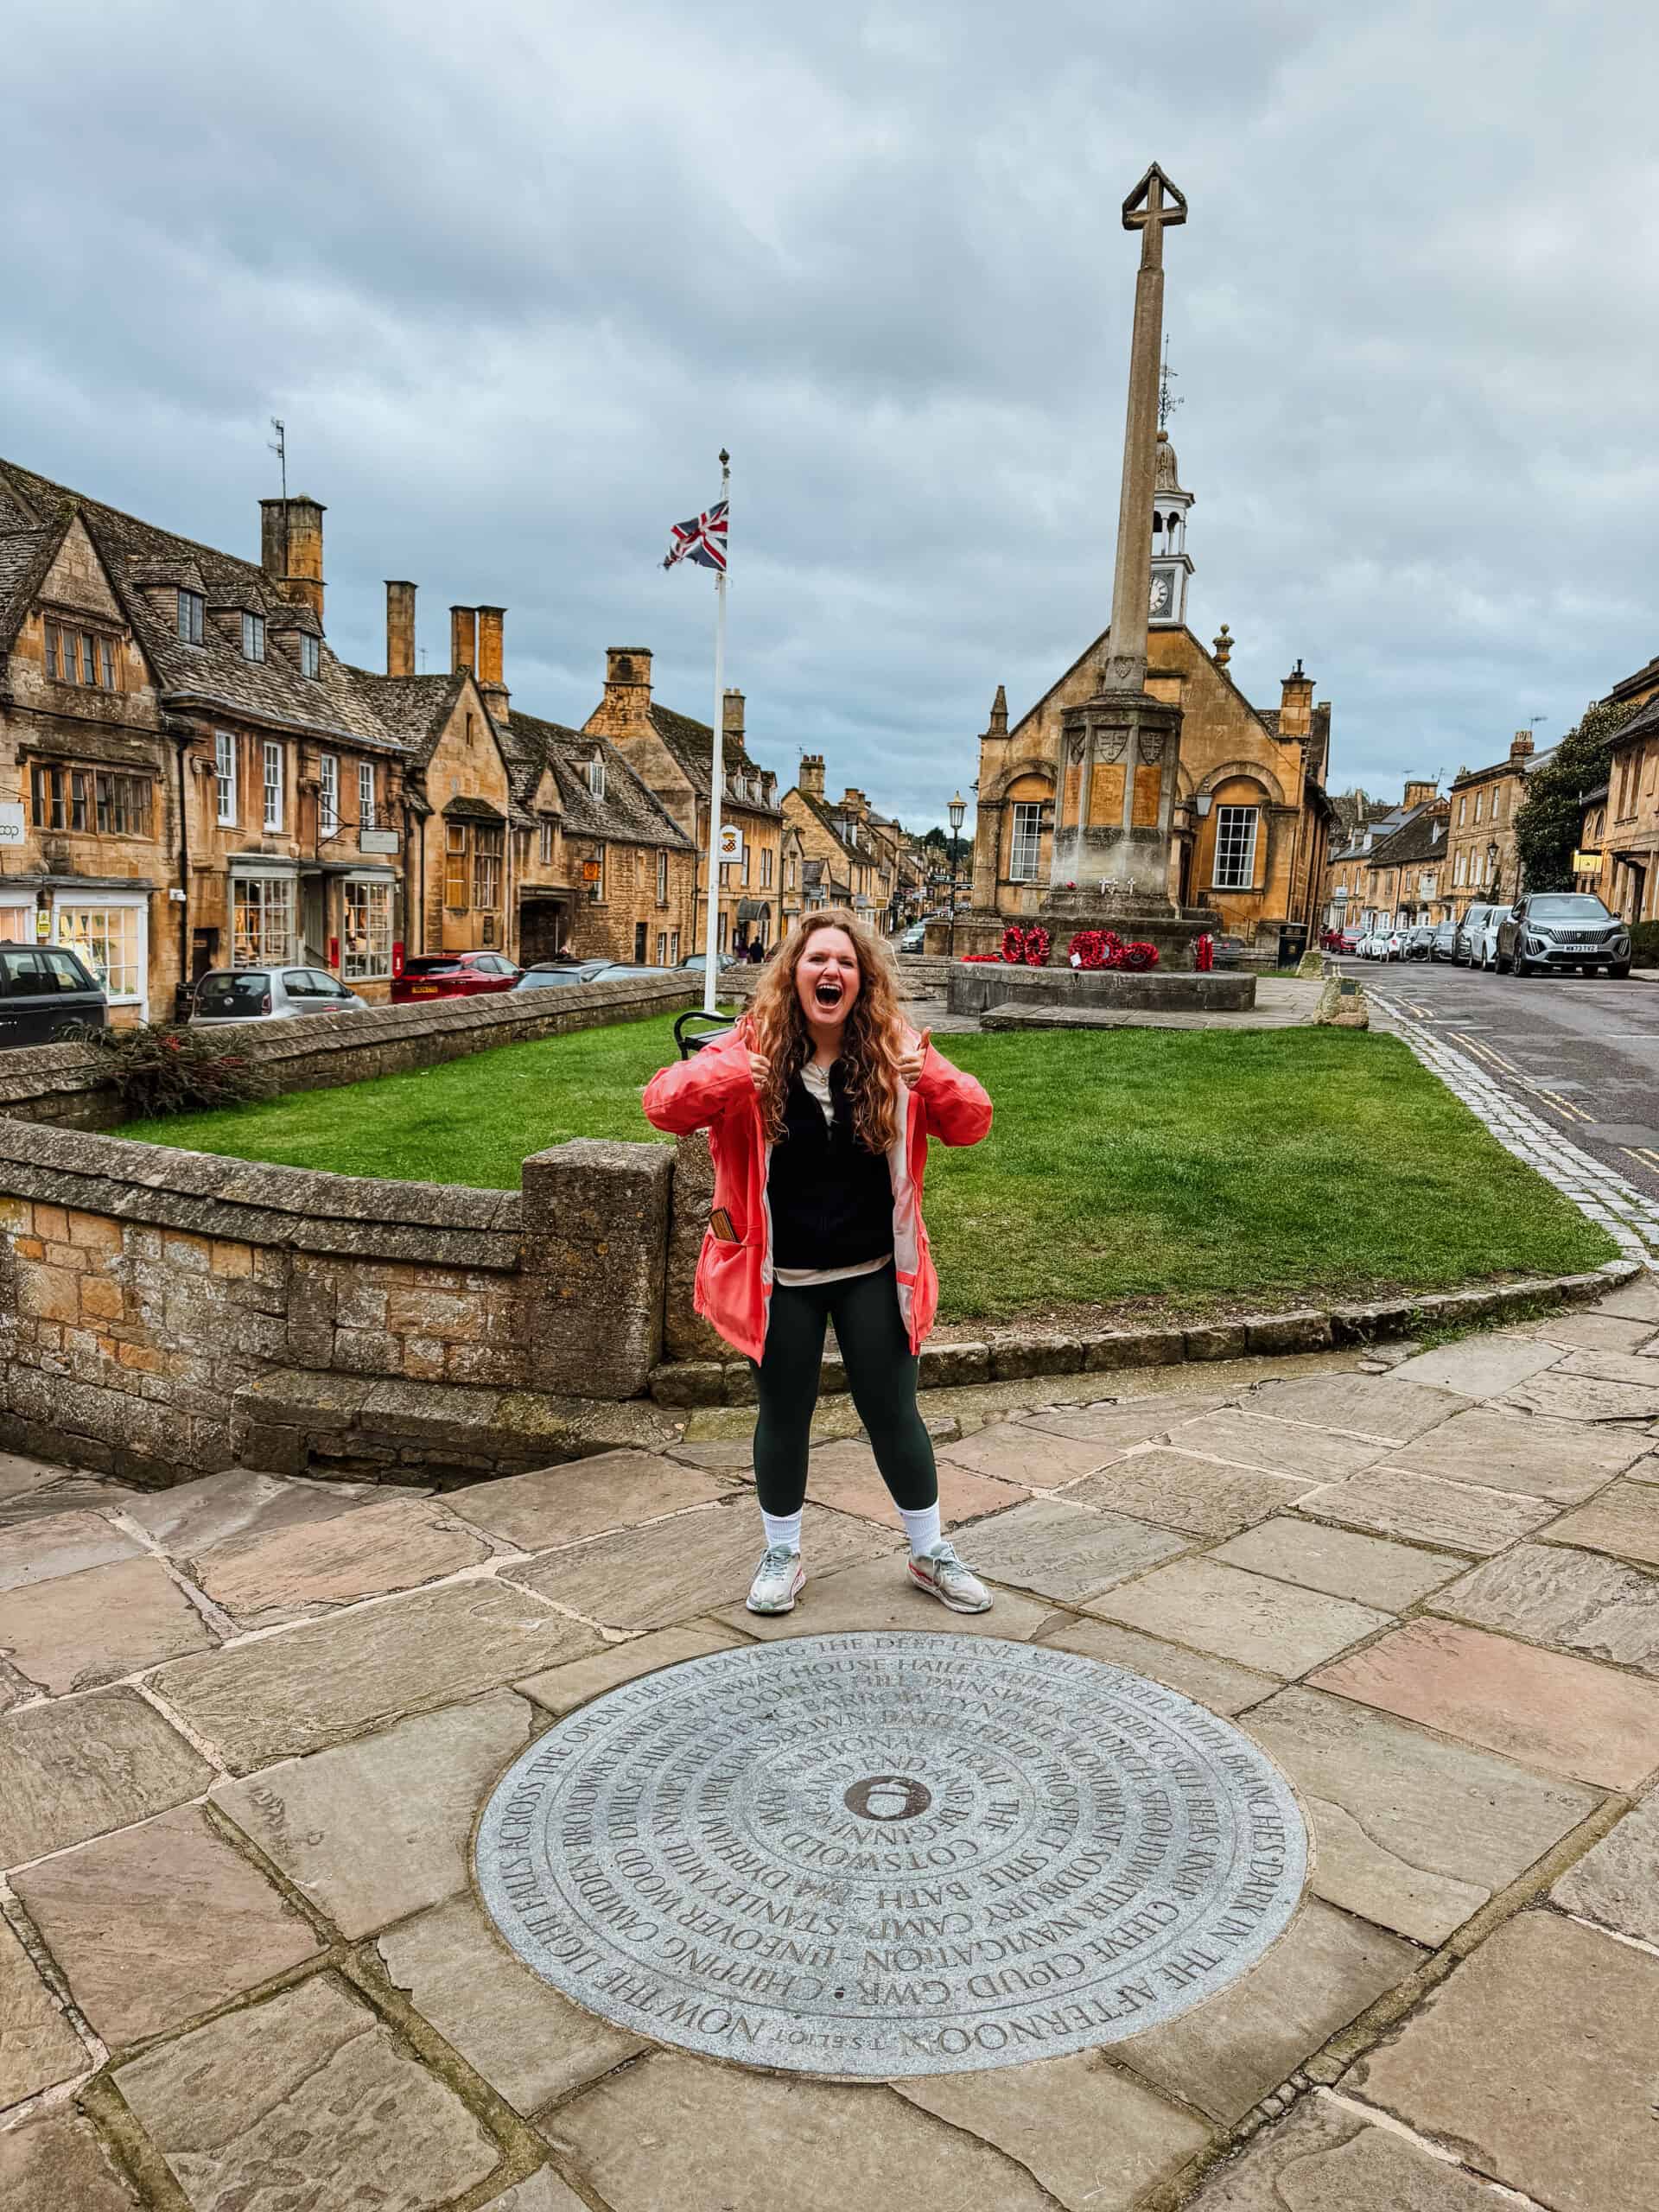
I don’t think I’ll ever forget the feeling of standing at the start of the Cotswold Way in the golden village of Chipping Campden. Early morning mist hugged the rooftops, and for a moment, the whole world felt hushed—like it was holding its breath right along with me.

Could I really walk 100 miles across England’s countryside? Was I ready for the hills, the rain, the blisters?
I was nervous. But as I tightened the straps on my backpack and took those first steps past the old market hall, something shifted. I wasn’t just starting a walk; I was stepping into a story—a winding path through history, nature, and, truthfully, myself.

P.S. my favorite places in the Cotswolds are here!
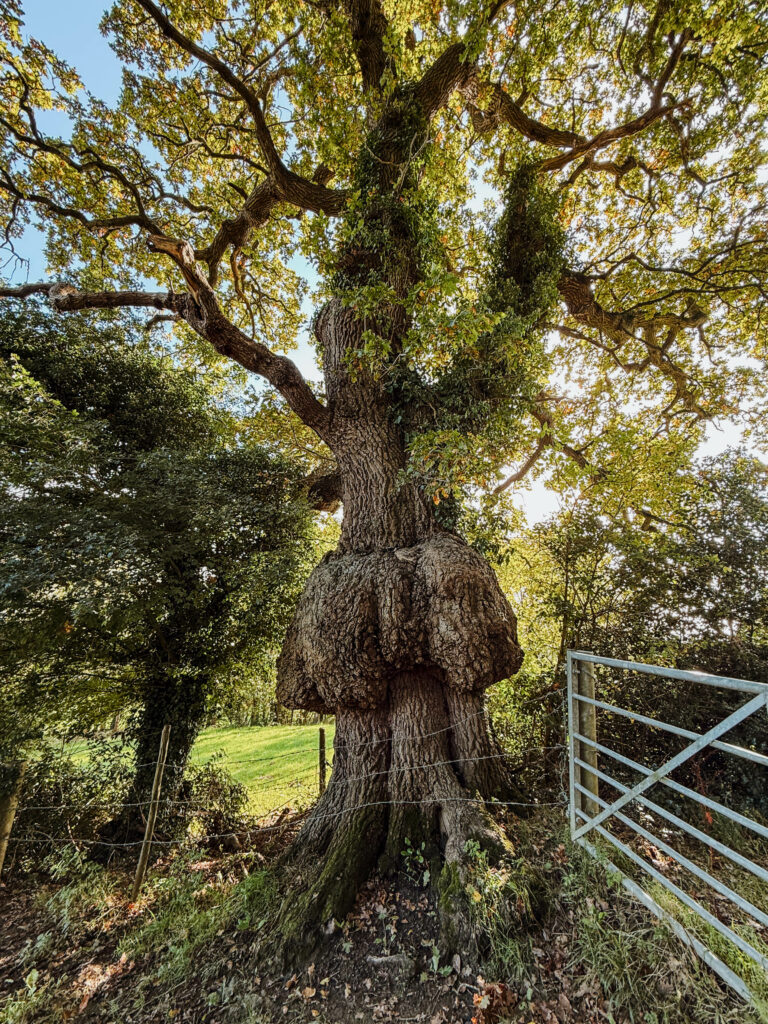
Over the next ten days, I wandered through ancient woodlands, climbed up to sweeping escarpments with views that made me stop in my tracks, and ended each day in villages so charming it almost felt like I had wandered onto a movie set. There were tough climbs and muddy boots, yes, but also those quiet, golden moments that stitched themselves into my memory: a deer darting through a misty field, the clink of a pub doorbell as I stumbled in for a much-needed pint, a local pointing me down an overgrown path with a smile and a “You’ll love this bit.”
Walking the Cotswold Way was so much more than just a hike. It was a journey—and one I’ll treasure for the rest of my life.
If you’re dreaming of taking on this trail, whether next month or “one day,” this is your friendly guide to what it’s really like to walk the Cotswold Way. (And if you want every step mapped out, with my full daily itinerary, hotel recommendations, and insider tips, you can check out my detailed guide here!
As of now people are already booking accomodation early for 2026 so it’s time to get on it!
Table of contents
- What is the Cotswold Way?
- My Personal Journey Walking England’s Cotswold Way
- How Long Does it Take to Walk the Cotswold Way?
- How Difficult is the Cotswold Way?
- Best Time to Walk the Cotswold Way
- What to Pack for Walking the Cotswold Way
- Where to Stay Along the Cotswold Way
- My 10-Day Cotswold Way Itinerary (At a Glance)
- Day 1: Chipping Campden to Broadway (8 miles)
- Day 2: Broadway to Winchcombe (15.5 miles)
- Day 3: Winchcombe to Cheltenham (11 miles)
- Day 4: Cheltenham to Birdlip (12 miles)
- Day 5: Birdlip to Painswick (10 miles)
- Day 6: Painswick to Stonehouse (10 miles)
- Day 7: Stonehouse to Wotton-under-Edge (13.5 miles)
- Day 8: Wotton-under-Edge to Old Sodbury (13.5 miles)
- Day 9: Old Sodbury to Cold Ashton (8.5 miles)
- Day 10: Cold Ashton to Bath (10 miles)
- My Top Tips for Walking the Cotswold Way
- Cotswold Way Updates for 2026
- Final Thoughts: Why the Cotswold Way Stays With You
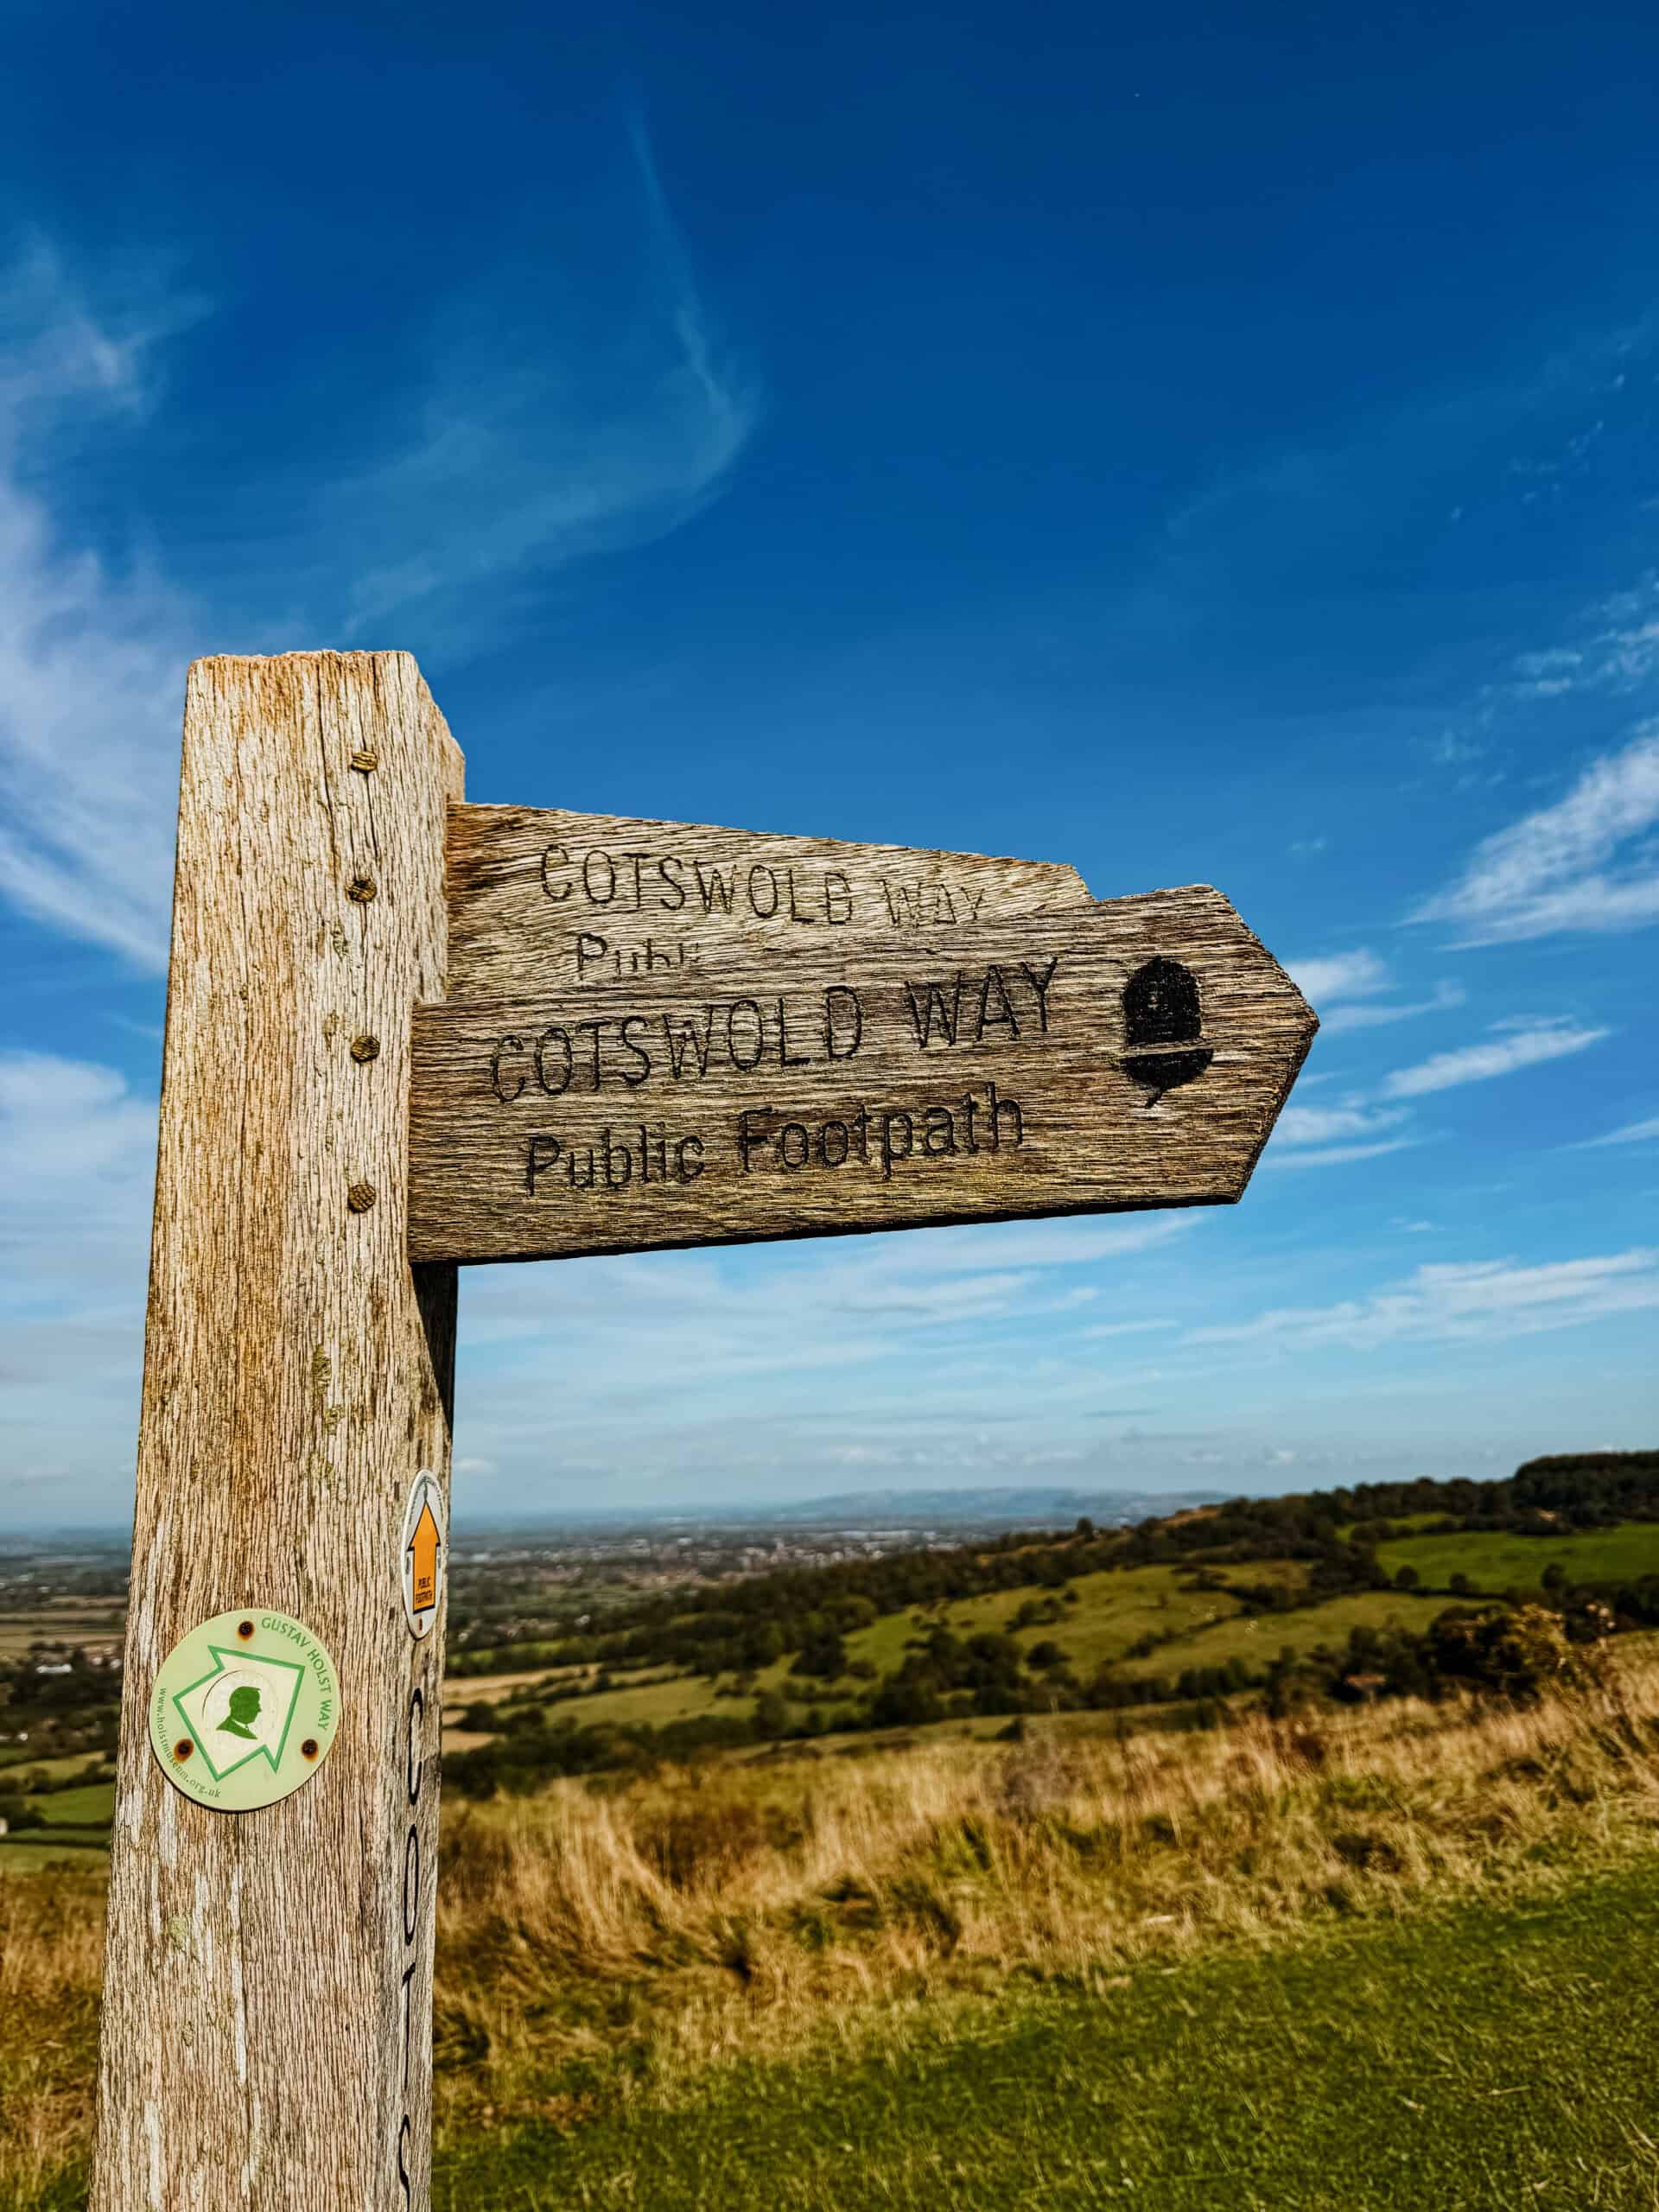
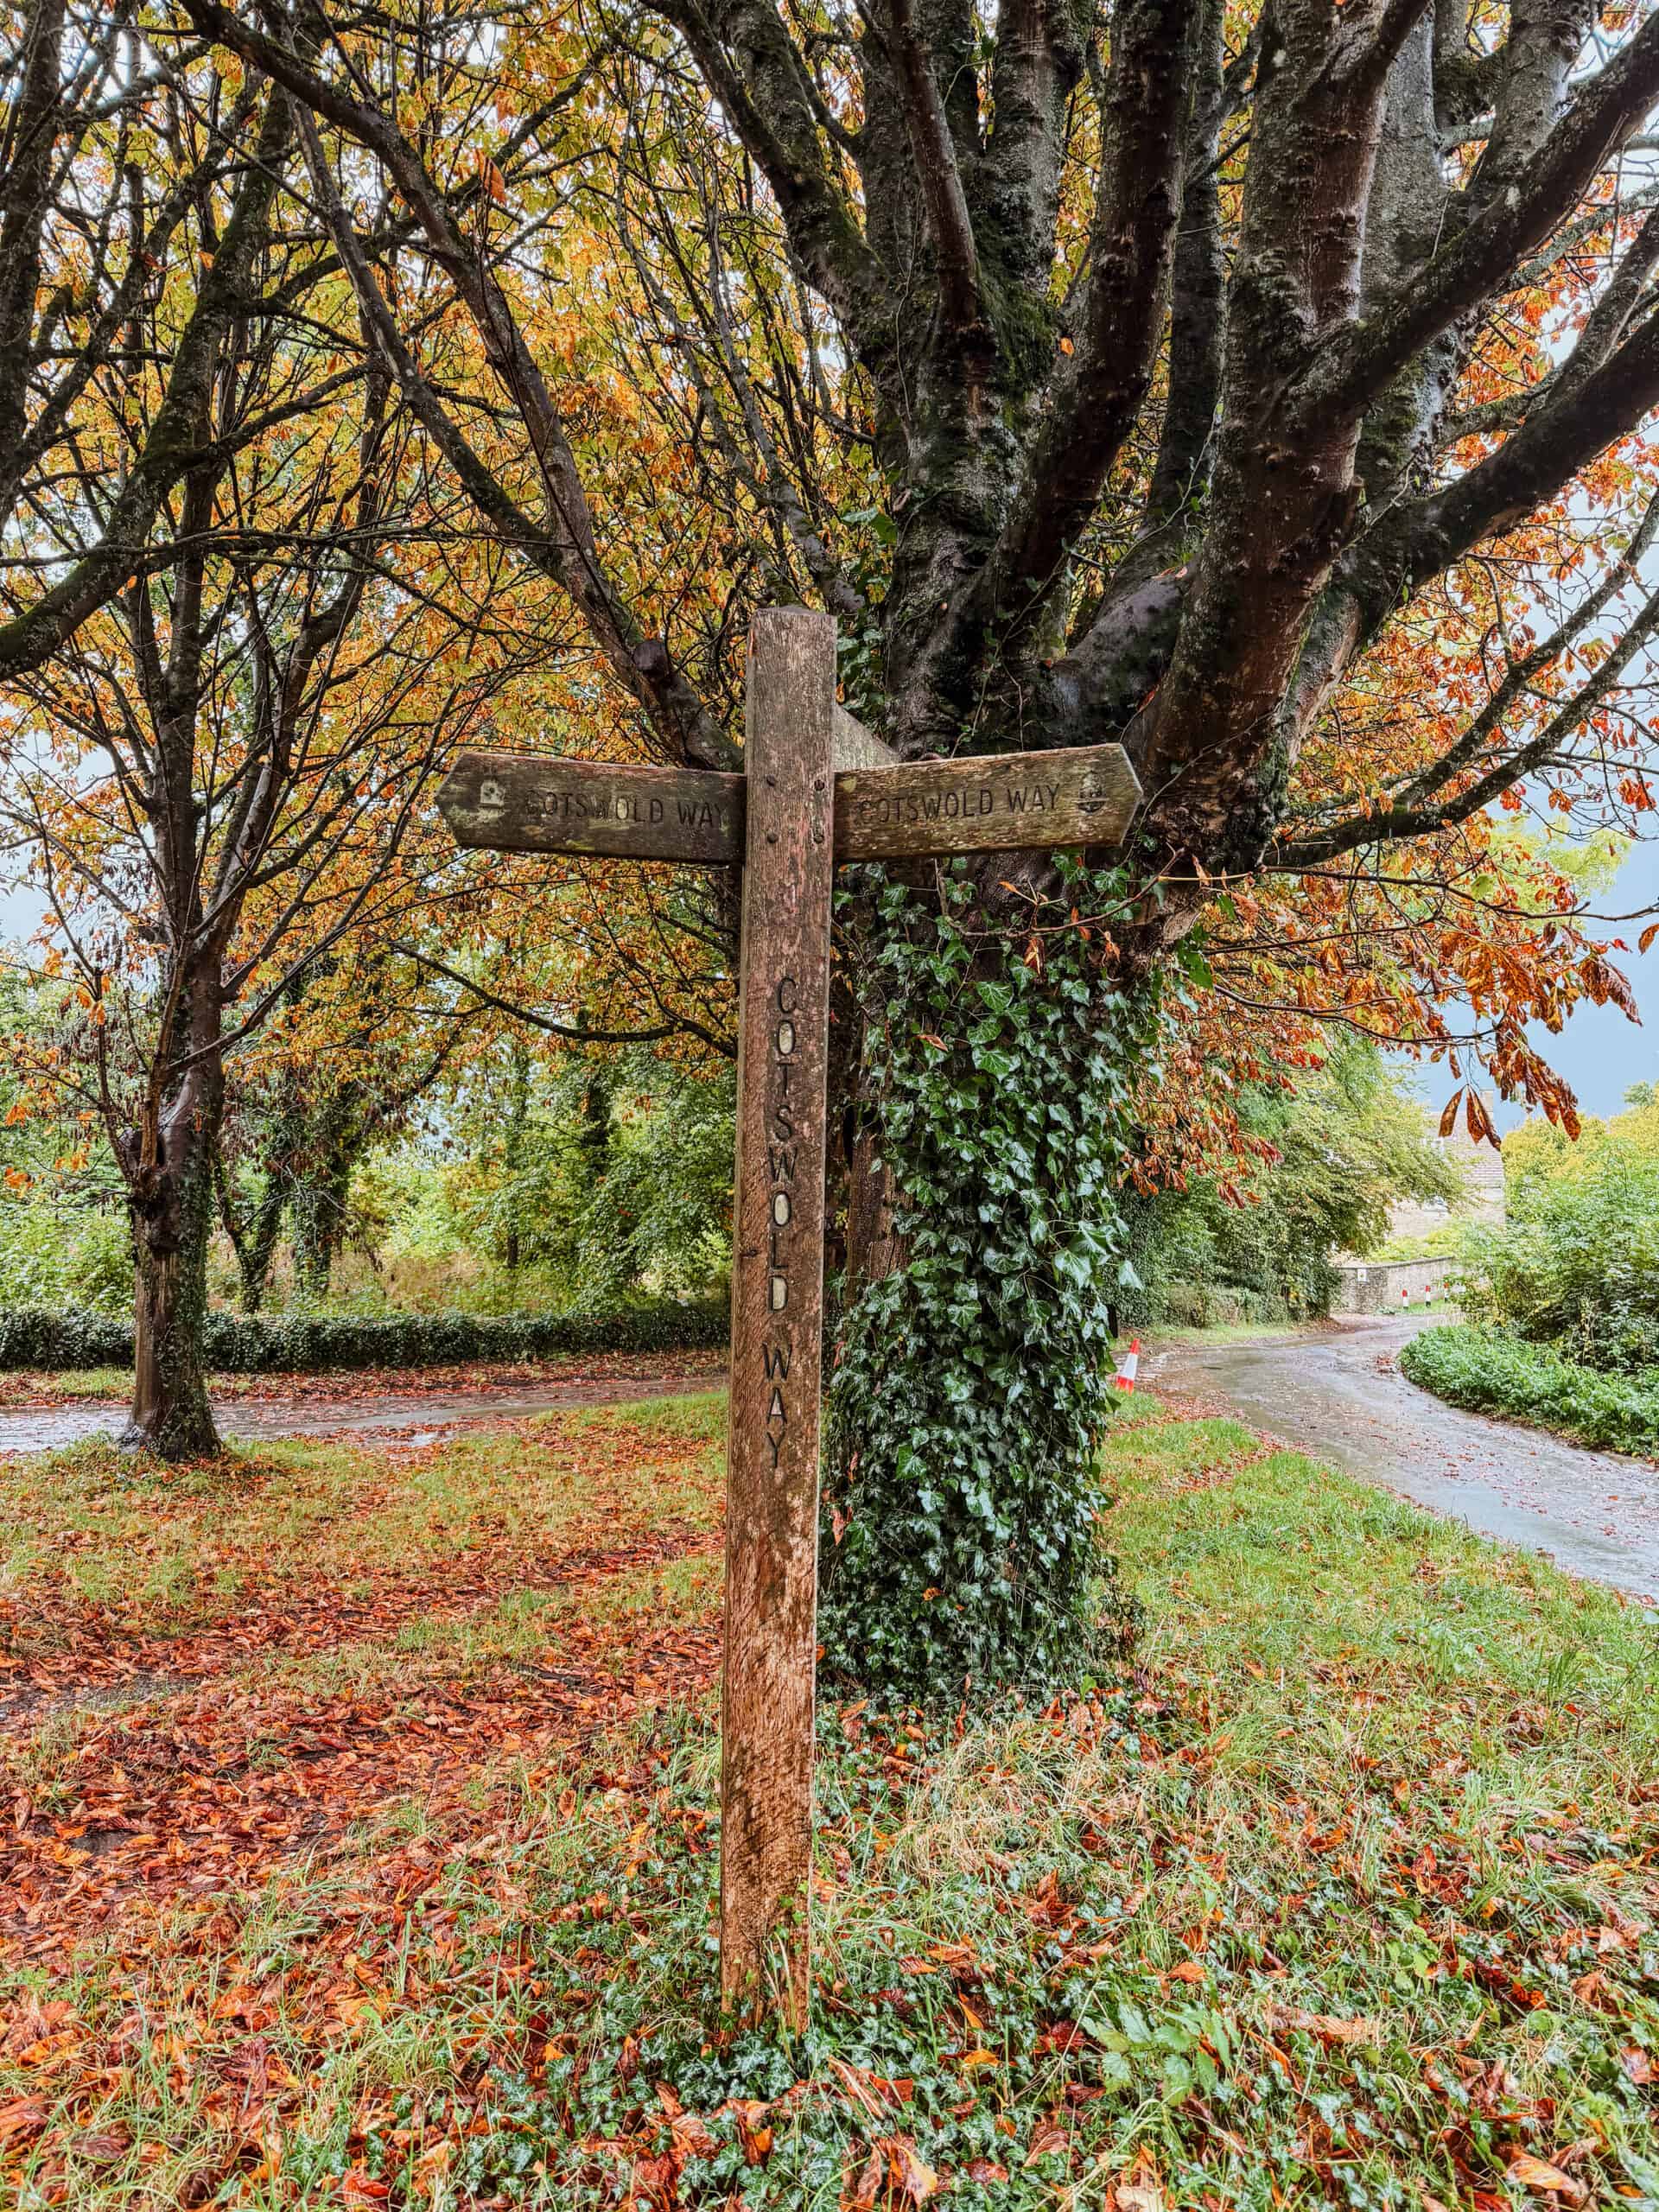
What is the Cotswold Way?
The Cotswold Way is a National Trail in southwest England that runs about 102 miles (164 km) from Chipping Campden to Bath.
The Cotswold Way is one of the official National Trails in the UK—a collection of long-distance paths specially designated for their natural beauty, cultural importance, and historical significance.

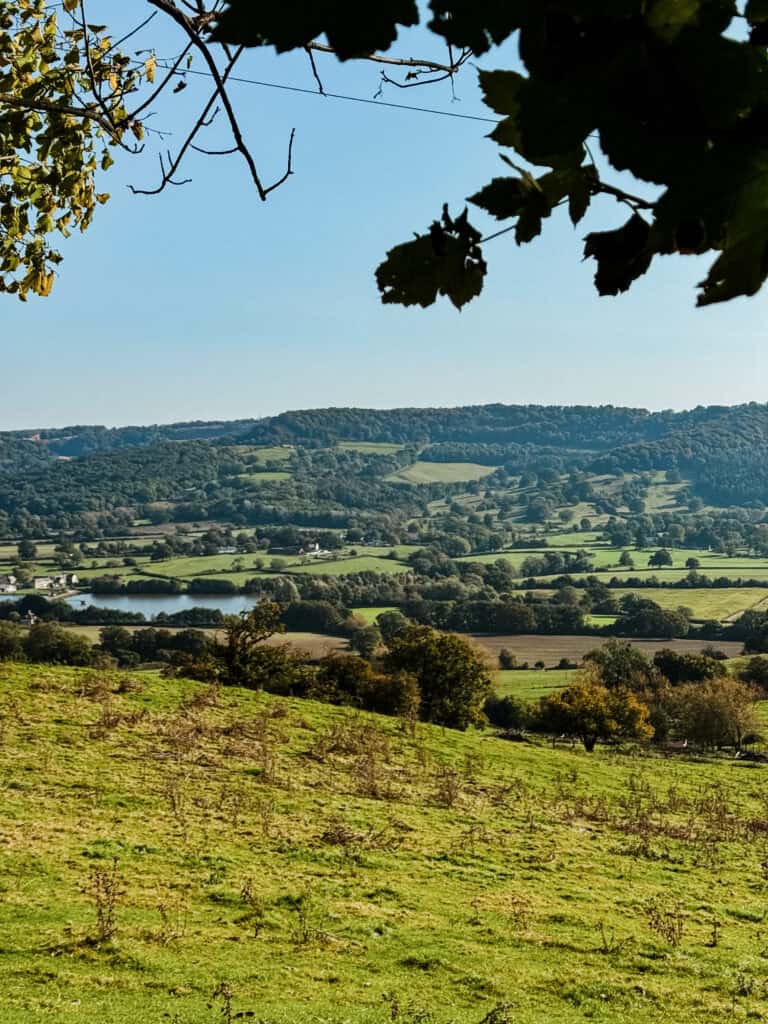
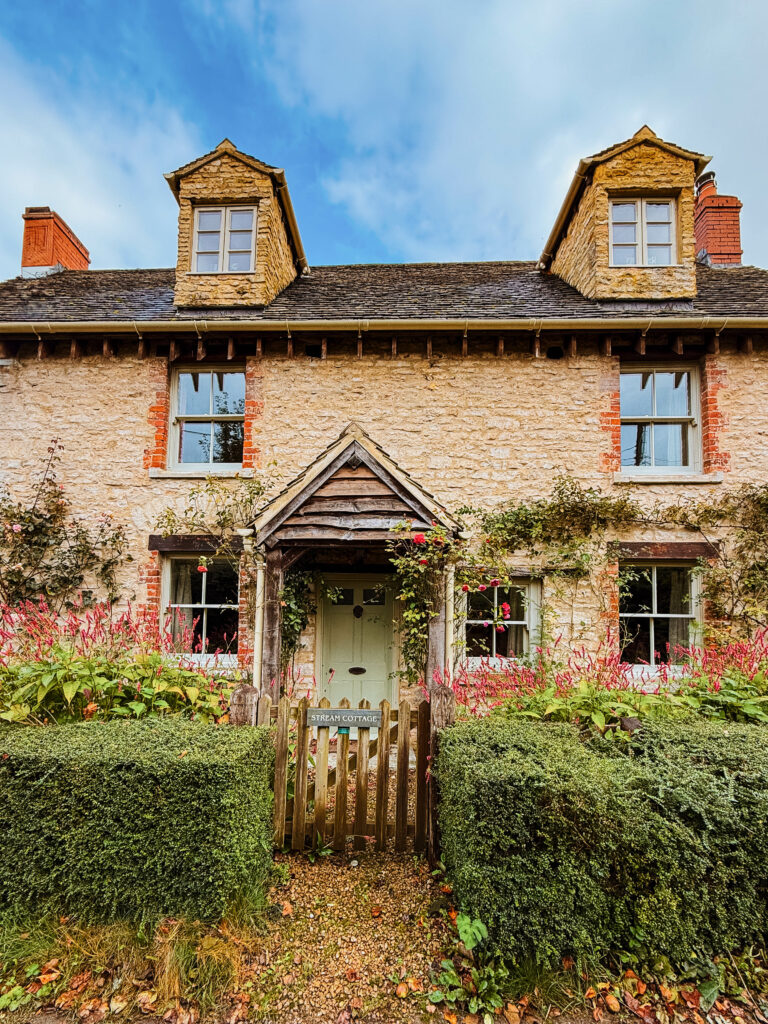
It travels through the Cotswolds Area of Outstanding Natural Beauty, famous for its rolling hills, ancient stone villages, sheep-dotted fields, and storybook scenery. Along the way, you’ll pass castles, battlefields, Neolithic burial grounds, and landscapes that look almost too beautiful to be real.
The Cotswold Way isn’t about speed; it’s about soaking it all in, one footstep at a time.
It feels like walking through a story book!
My Personal Journey Walking England’s Cotswold Way
In May 2024 I decided to walk the Cotswold Way.
Not to be dramatic here but it changed my life.
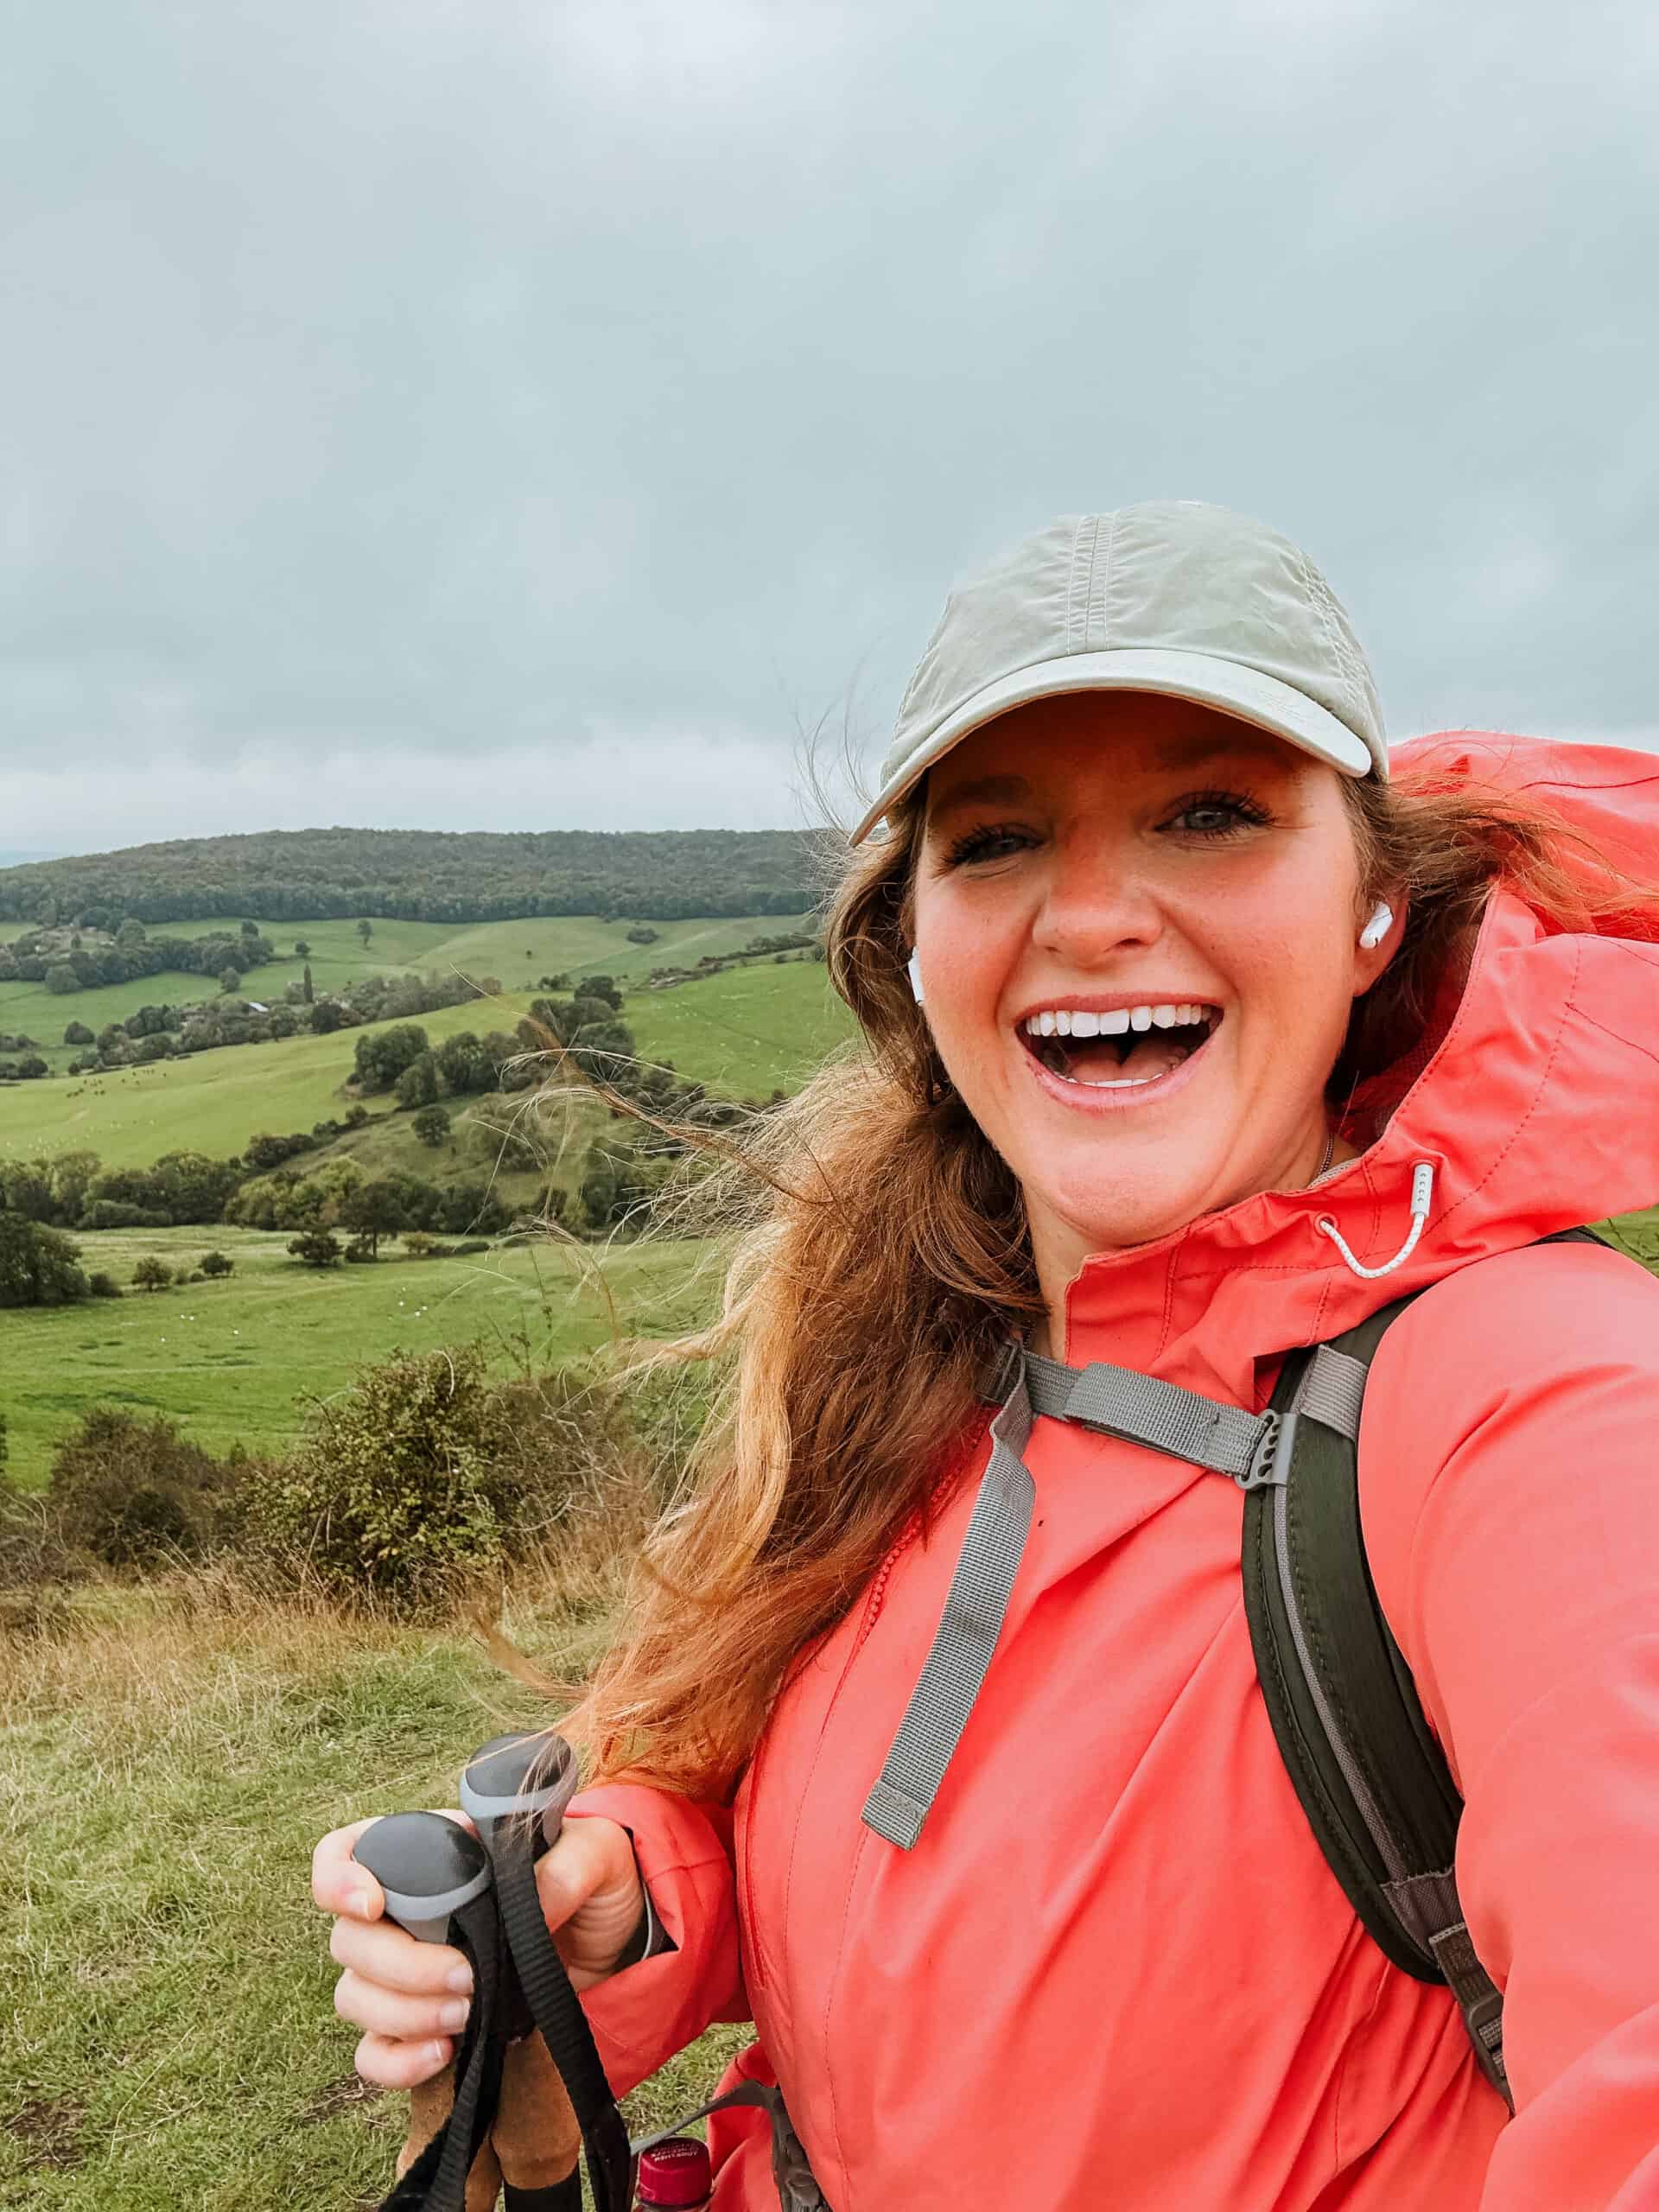
I was living in Oxford, England and was feeling stressed and overweight. I told my husband and he made me a detailed 4 month training plan. I started training and eating healthy. I fell in LOVE with walking. I lost 30 pounds before the hike and discovered a deep love of the countryside and walking.
Here’s the exact training program I followed.
This training isn’t easy, it’s demanding. But it made the walk itself so so so wonderful. I actually ended up walking 131 miles because I did all the extra side trips because I felt SO good.
How Long Does it Take to Walk the Cotswold Way?
Most people take between 7 and 10 days to complete the trail, though ultra-marathon types might tackle it faster.
👉 If you want to enjoy the journey—stopping for cream teas, castle visits, and long pub lunches—I highly recommend giving yourself around 10 days.
How long it takes to walk the Cotswold Way really depends on two things: how much you want to walk each day, and how much you want to explore beyond the trail itself.
Most people complete the Cotswold Way in 7 to 10 days.
- If you’re aiming for a faster pace and don’t mind long walking days, you can finish in 7 or 8 days (averaging 13–16 miles per day).
- If, like me, you want time to soak it all in—to wander through villages, visit castles, stop for leisurely lunches, and maybe sit on the occasional bench just to enjoy the view—you’ll want closer to 10 days.
I chose the slower, savor-everything route and walked the Cotswold Way over 10 days. And while the official trail itself is 102 miles, by the end of my journey, my GPS tracker showed that I had walked 131 miles total!
Why the extra miles?
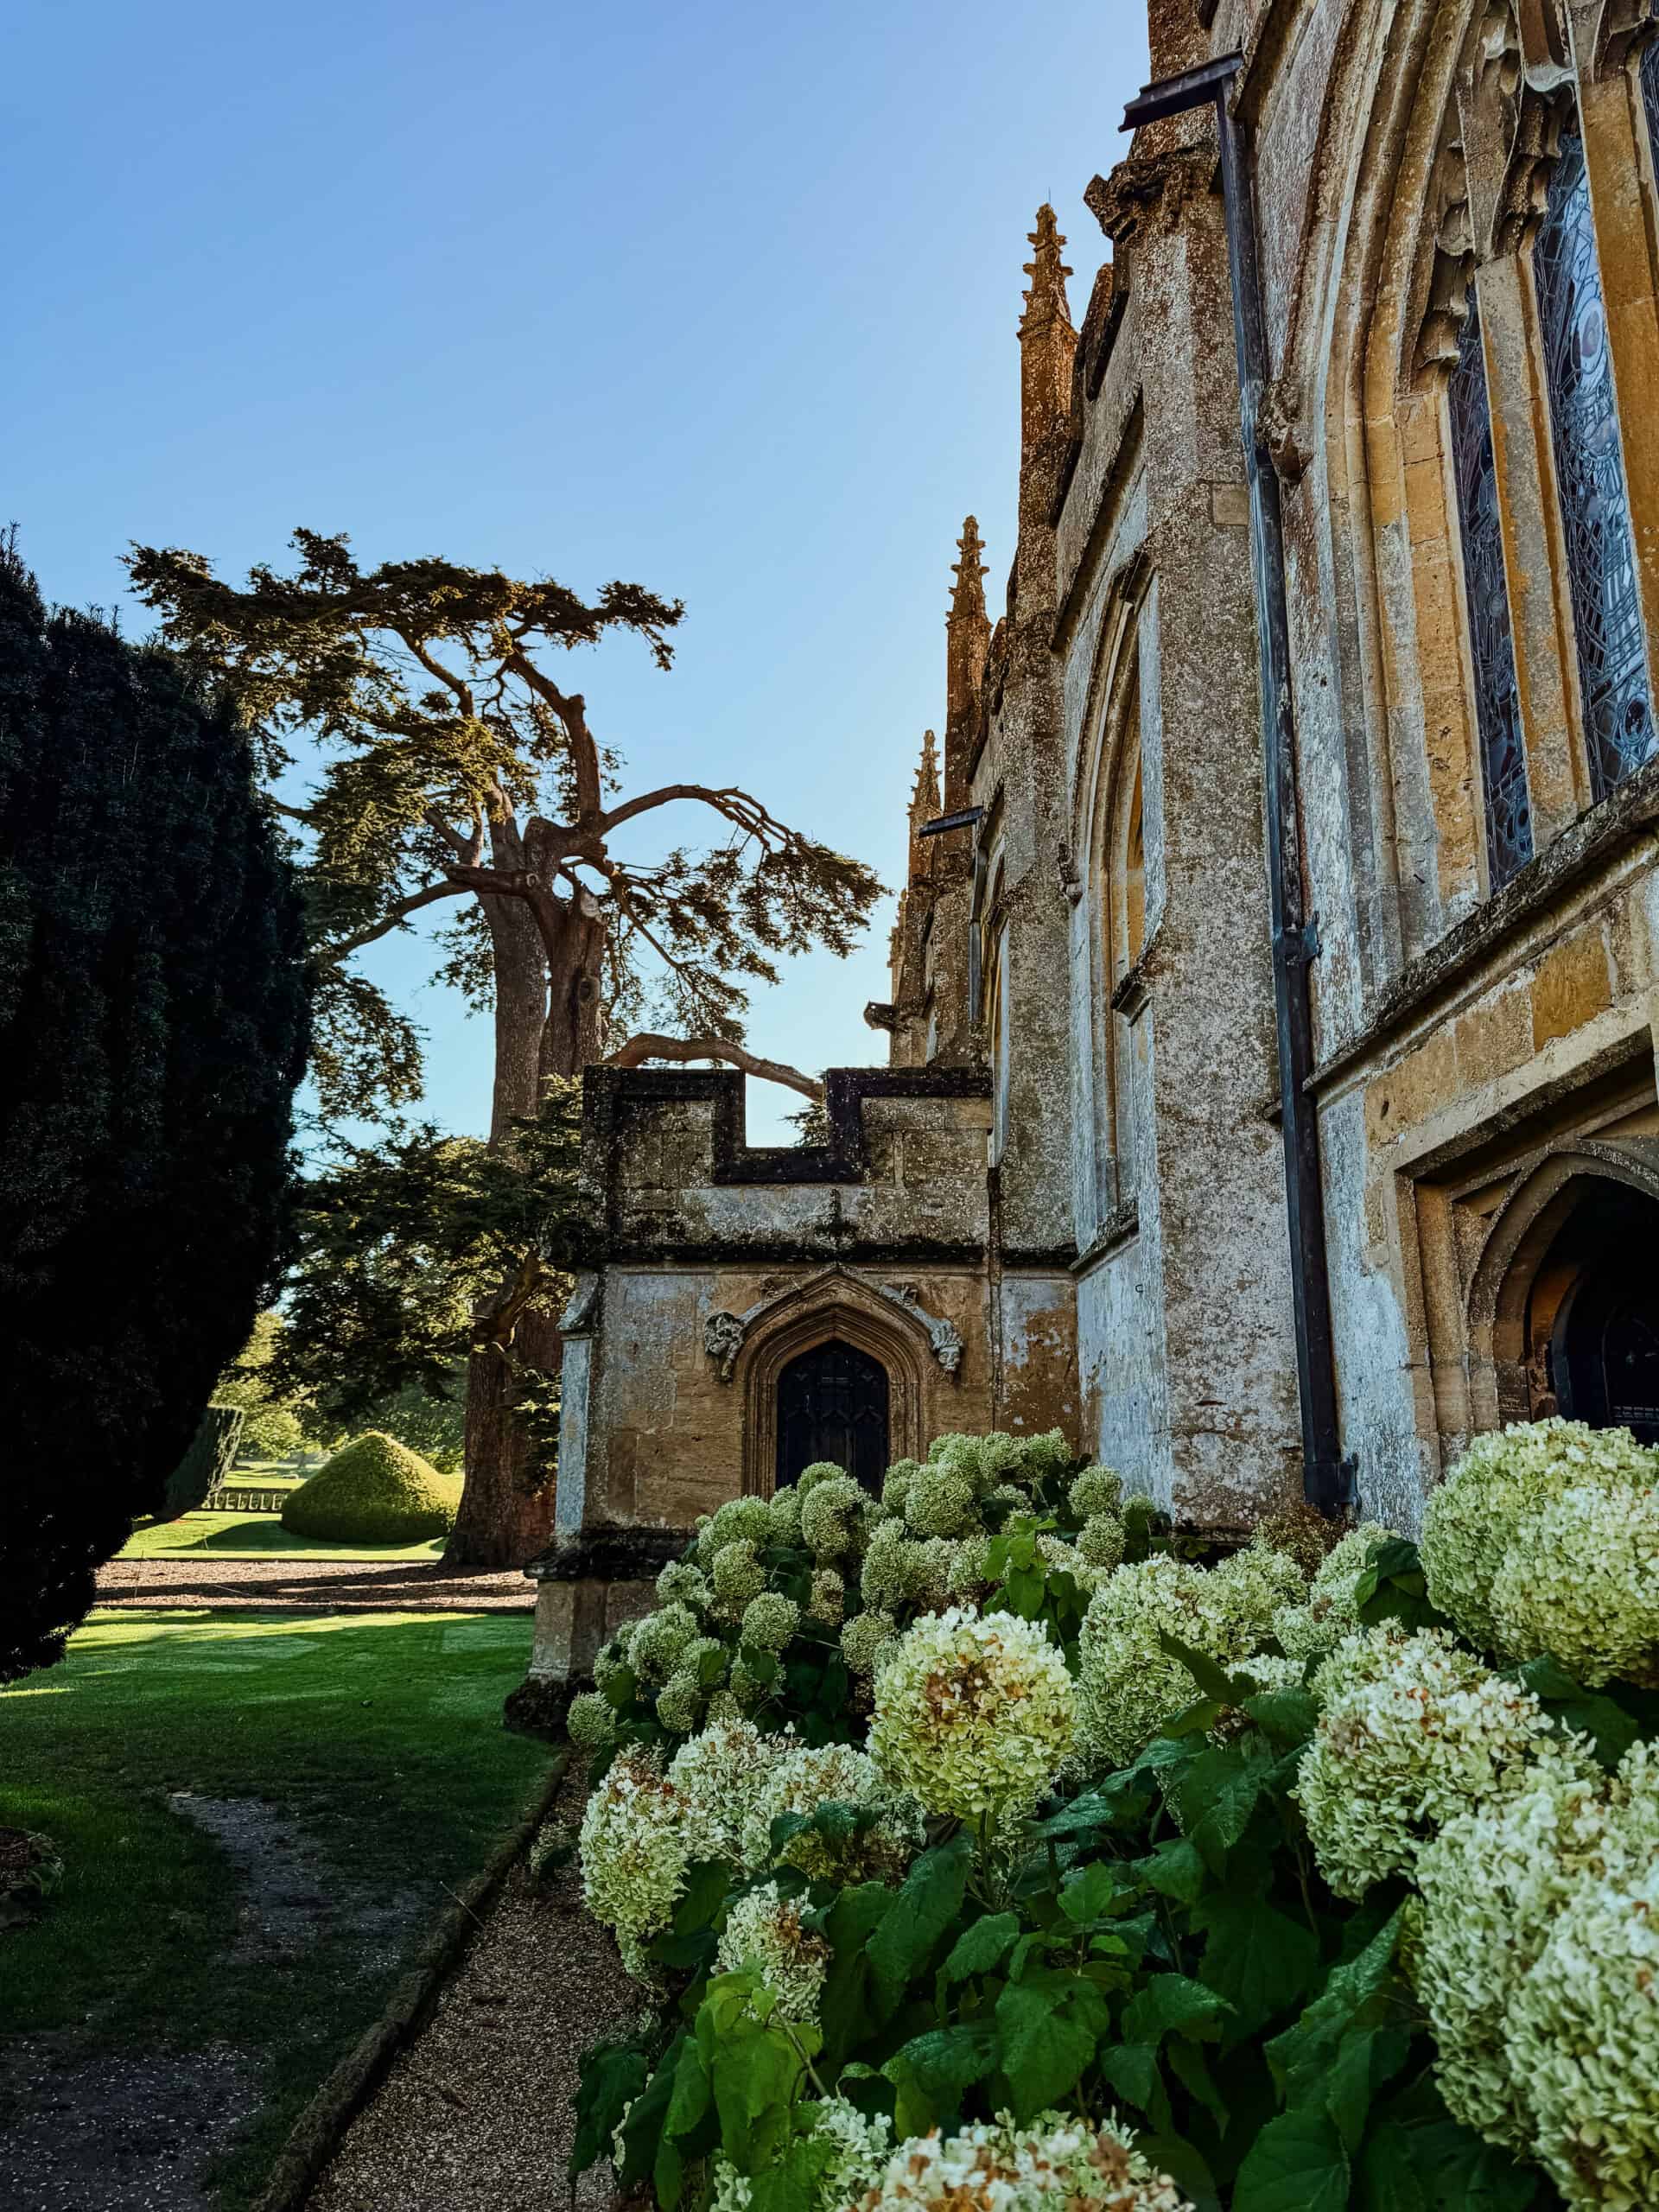
Well, one of the best parts of walking the Cotswold Way is that you’re never far from something worth detouring for. I ended up taking side trips to explore castles, historic sites, hilltop monuments, and of course, charming villages slightly off the main trail. I couldn’t resist visiting places like Sudeley Castle in Winchcombe and Horton Court, a beautiful medieval manor house—and every extra step was absolutely worth it.

A few things that added miles for me:
- Wandering through towns like Painswick, Winchcombe, and Wotton-under-Edge
- Taking scenic detours to castles and monuments
- Walking to and from accommodations when they were a little off the official route
- Exploring viewpoints and country pubs (priorities!)
So while the official distance is just over 100 miles, it’s good to plan for a little extra, especially if you’re anything like me and can’t resist a good side quest.
My advice:
- Give yourself a bit of breathing room with your itinerary.
- Build in time for side adventures—you’ll want it!
- Remember, it’s not just about reaching Bath at the end; it’s about everything you experience along the way.
And honestly? Those extra miles ended up being some of the most magical parts of my trip.
Trust me: your feet (and your soul) will thank you.
How Difficult is the Cotswold Way?
The Cotswold Way is rated moderate. It’s not a technical trail—no scrambling or mountaineering required—but it’s hillier than you might expect.
Each day brings a mix of steep climbs, gentle fields, wooded paths, and the occasional rocky patch after rain. Some of those hills are no joke, but the good news? Every climb comes with a view worth the effort.

Quick facts:
- Terrain: rolling hills, farm tracks, woodland, country roads
- Elevation: over 8,000 feet (2,400 meters) of total ascent
- Navigation: well-marked with the acorn symbol, but having a map or hiking app is smart (I used AllTrails app!)
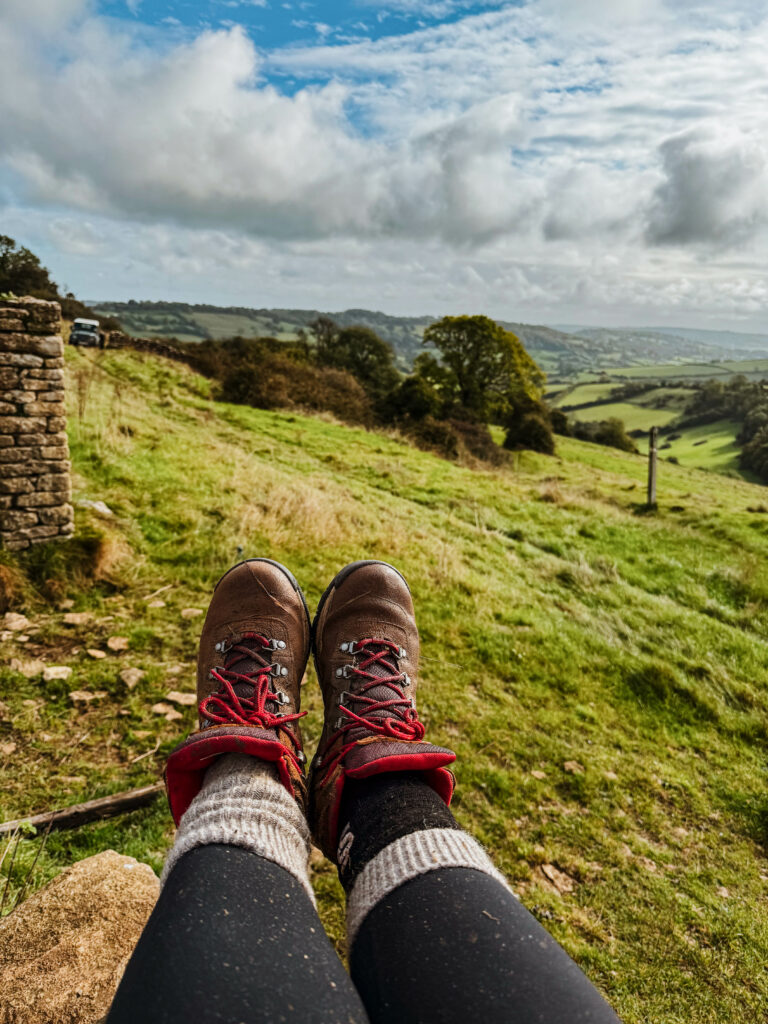
Personally I had no issues. No blisters. No problems. I felt great everyday. And I know that is because I trained. And the training was fun! I also had these hiking boots which I highly recommend.
Best Time to Walk the Cotswold Way
While you can walk the trail year-round, spring and autumn are pure magic.
- Spring (April–June): Fresh blooms, newborn lambs, longer days.
- Summer (July–August): Warm, lush, but busier with tourists.
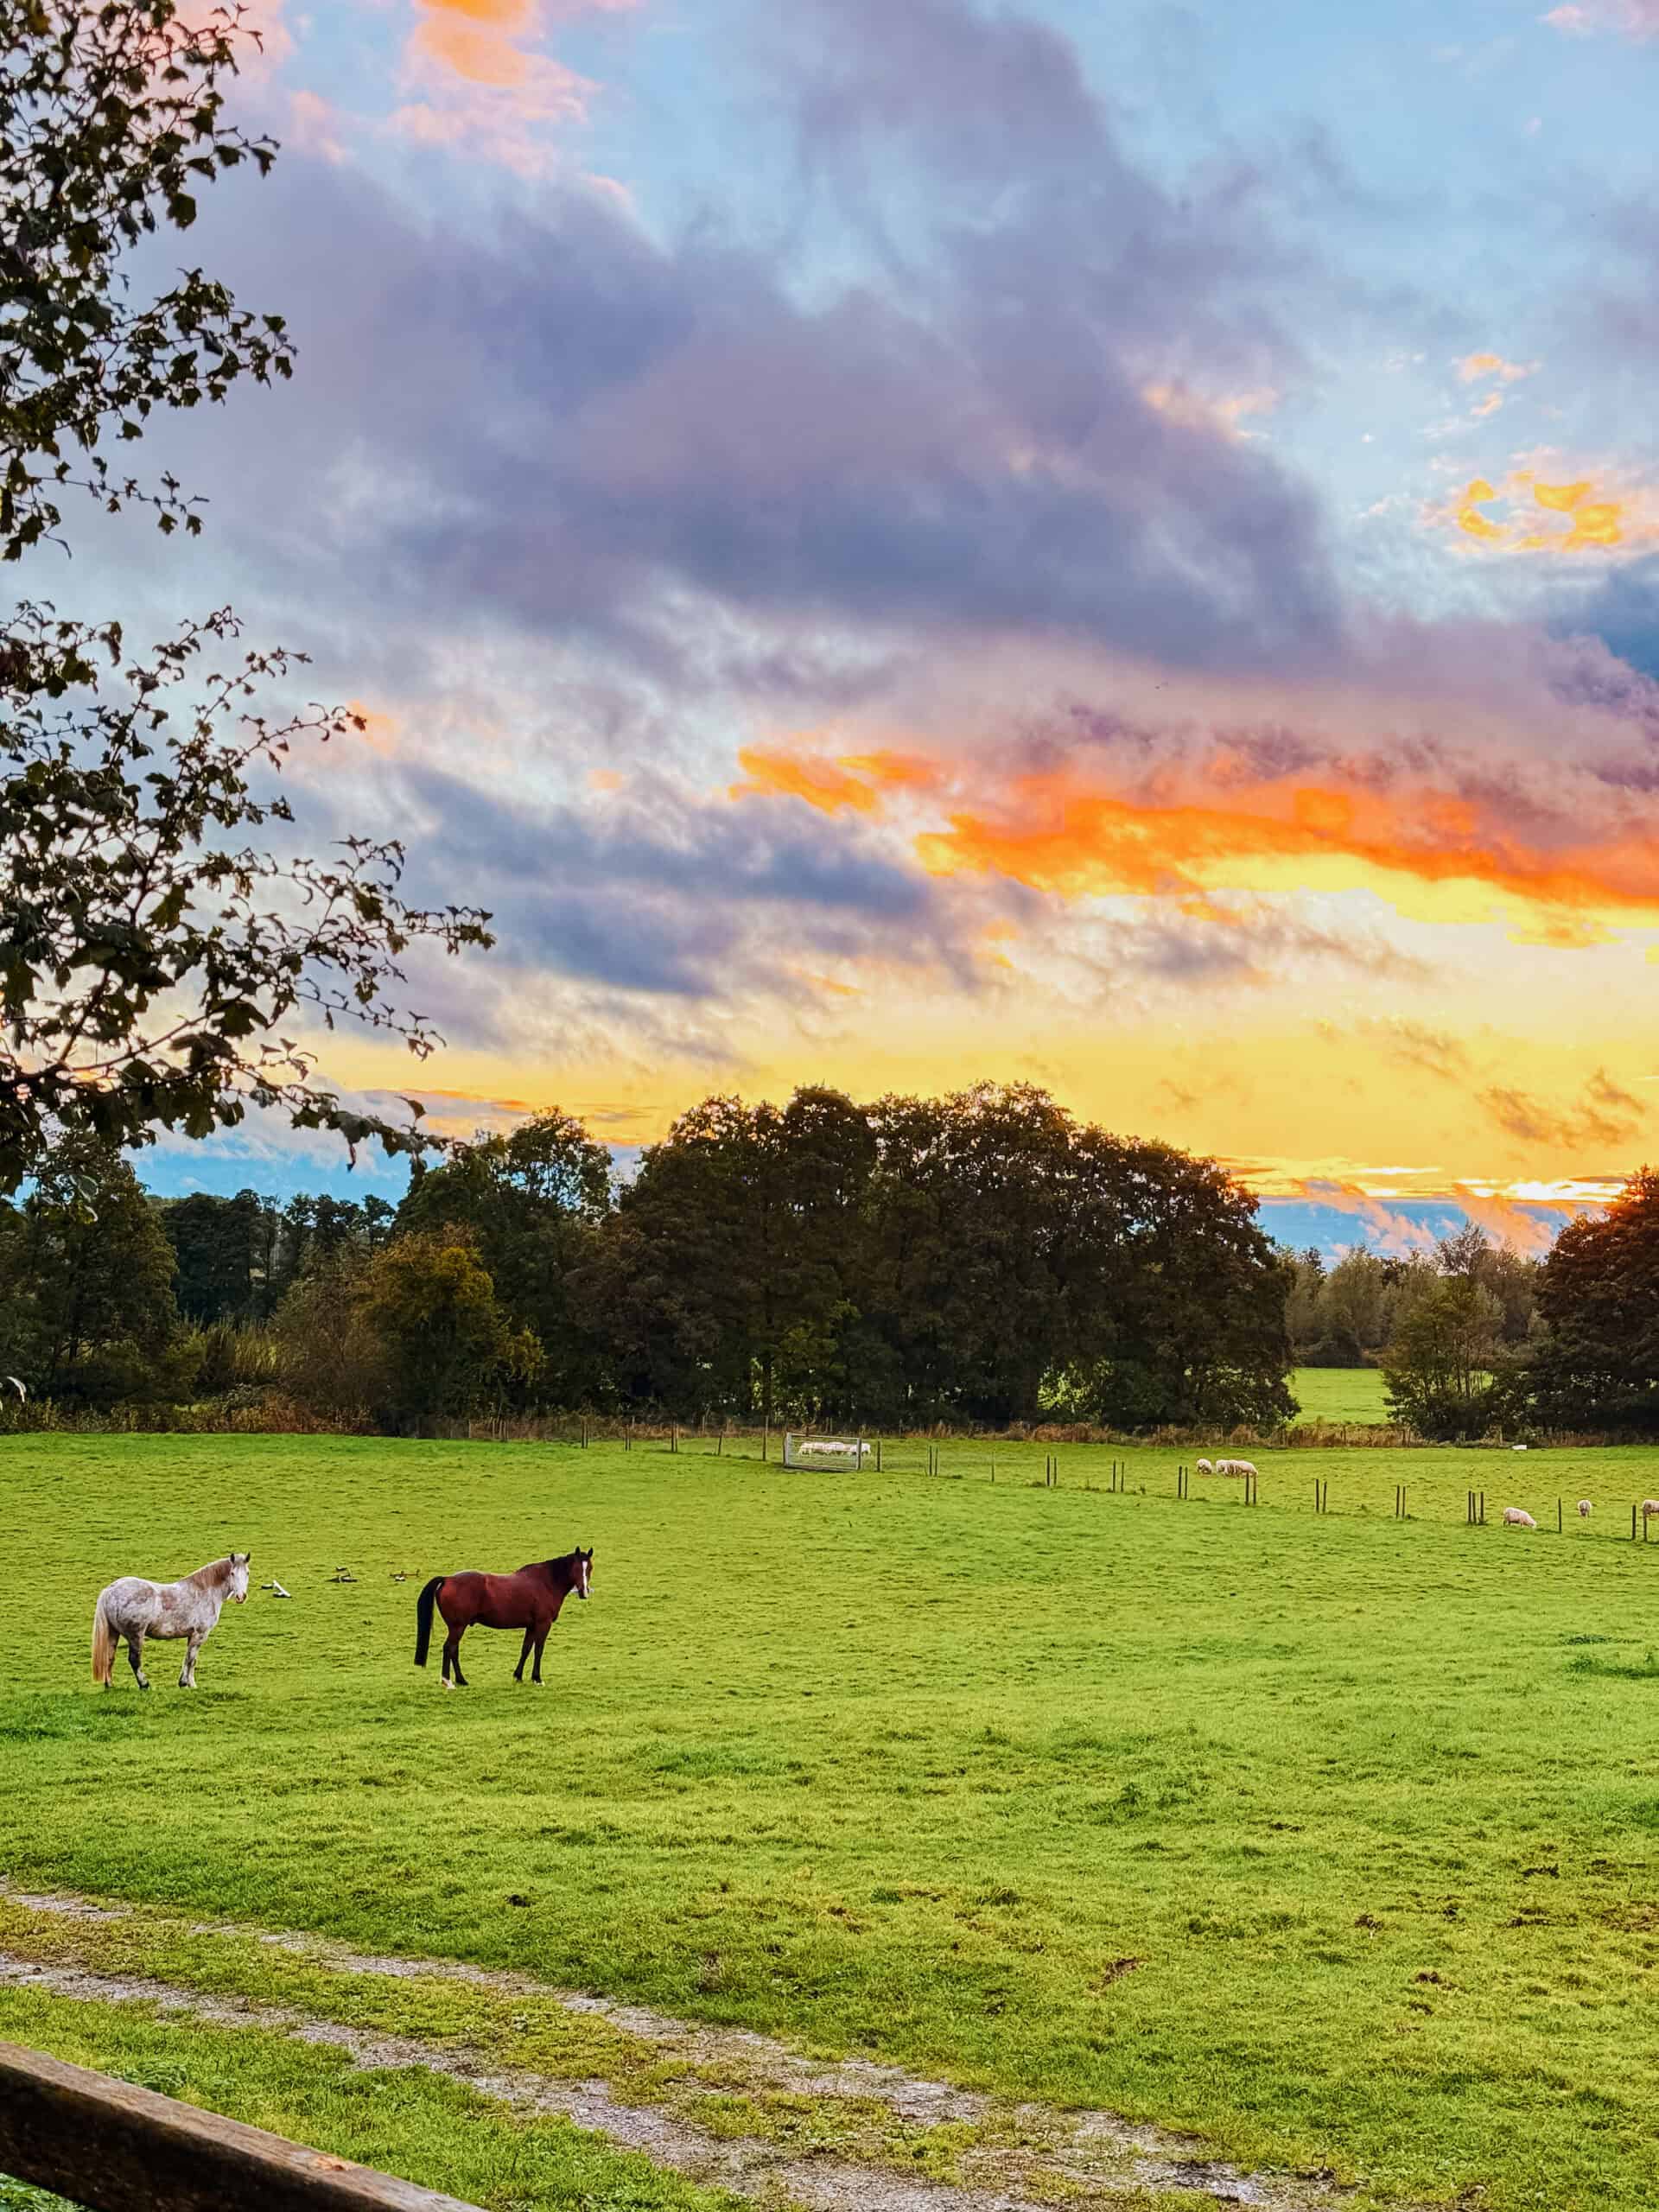
- Autumn (September–October): Fiery foliage, crisp air, cozy pub evenings.
- Winter (November–March): Quiet but muddy, with short daylight hours.
I walked in early October, and it felt like the landscape had turned into a painting—golden fields, rusty red trees, and soft mist hanging over the hills each morning.
What to Pack for Walking the Cotswold Way
Packing wisely makes a huge difference. You don’t need a giant pack weighing you down, but you do need a few essentials:
- Sturdy, waterproof hiking boots (well broken-in, I packed 2 pairs)
- Socks (and an extra pair on the trail)
- Lightweight daypack
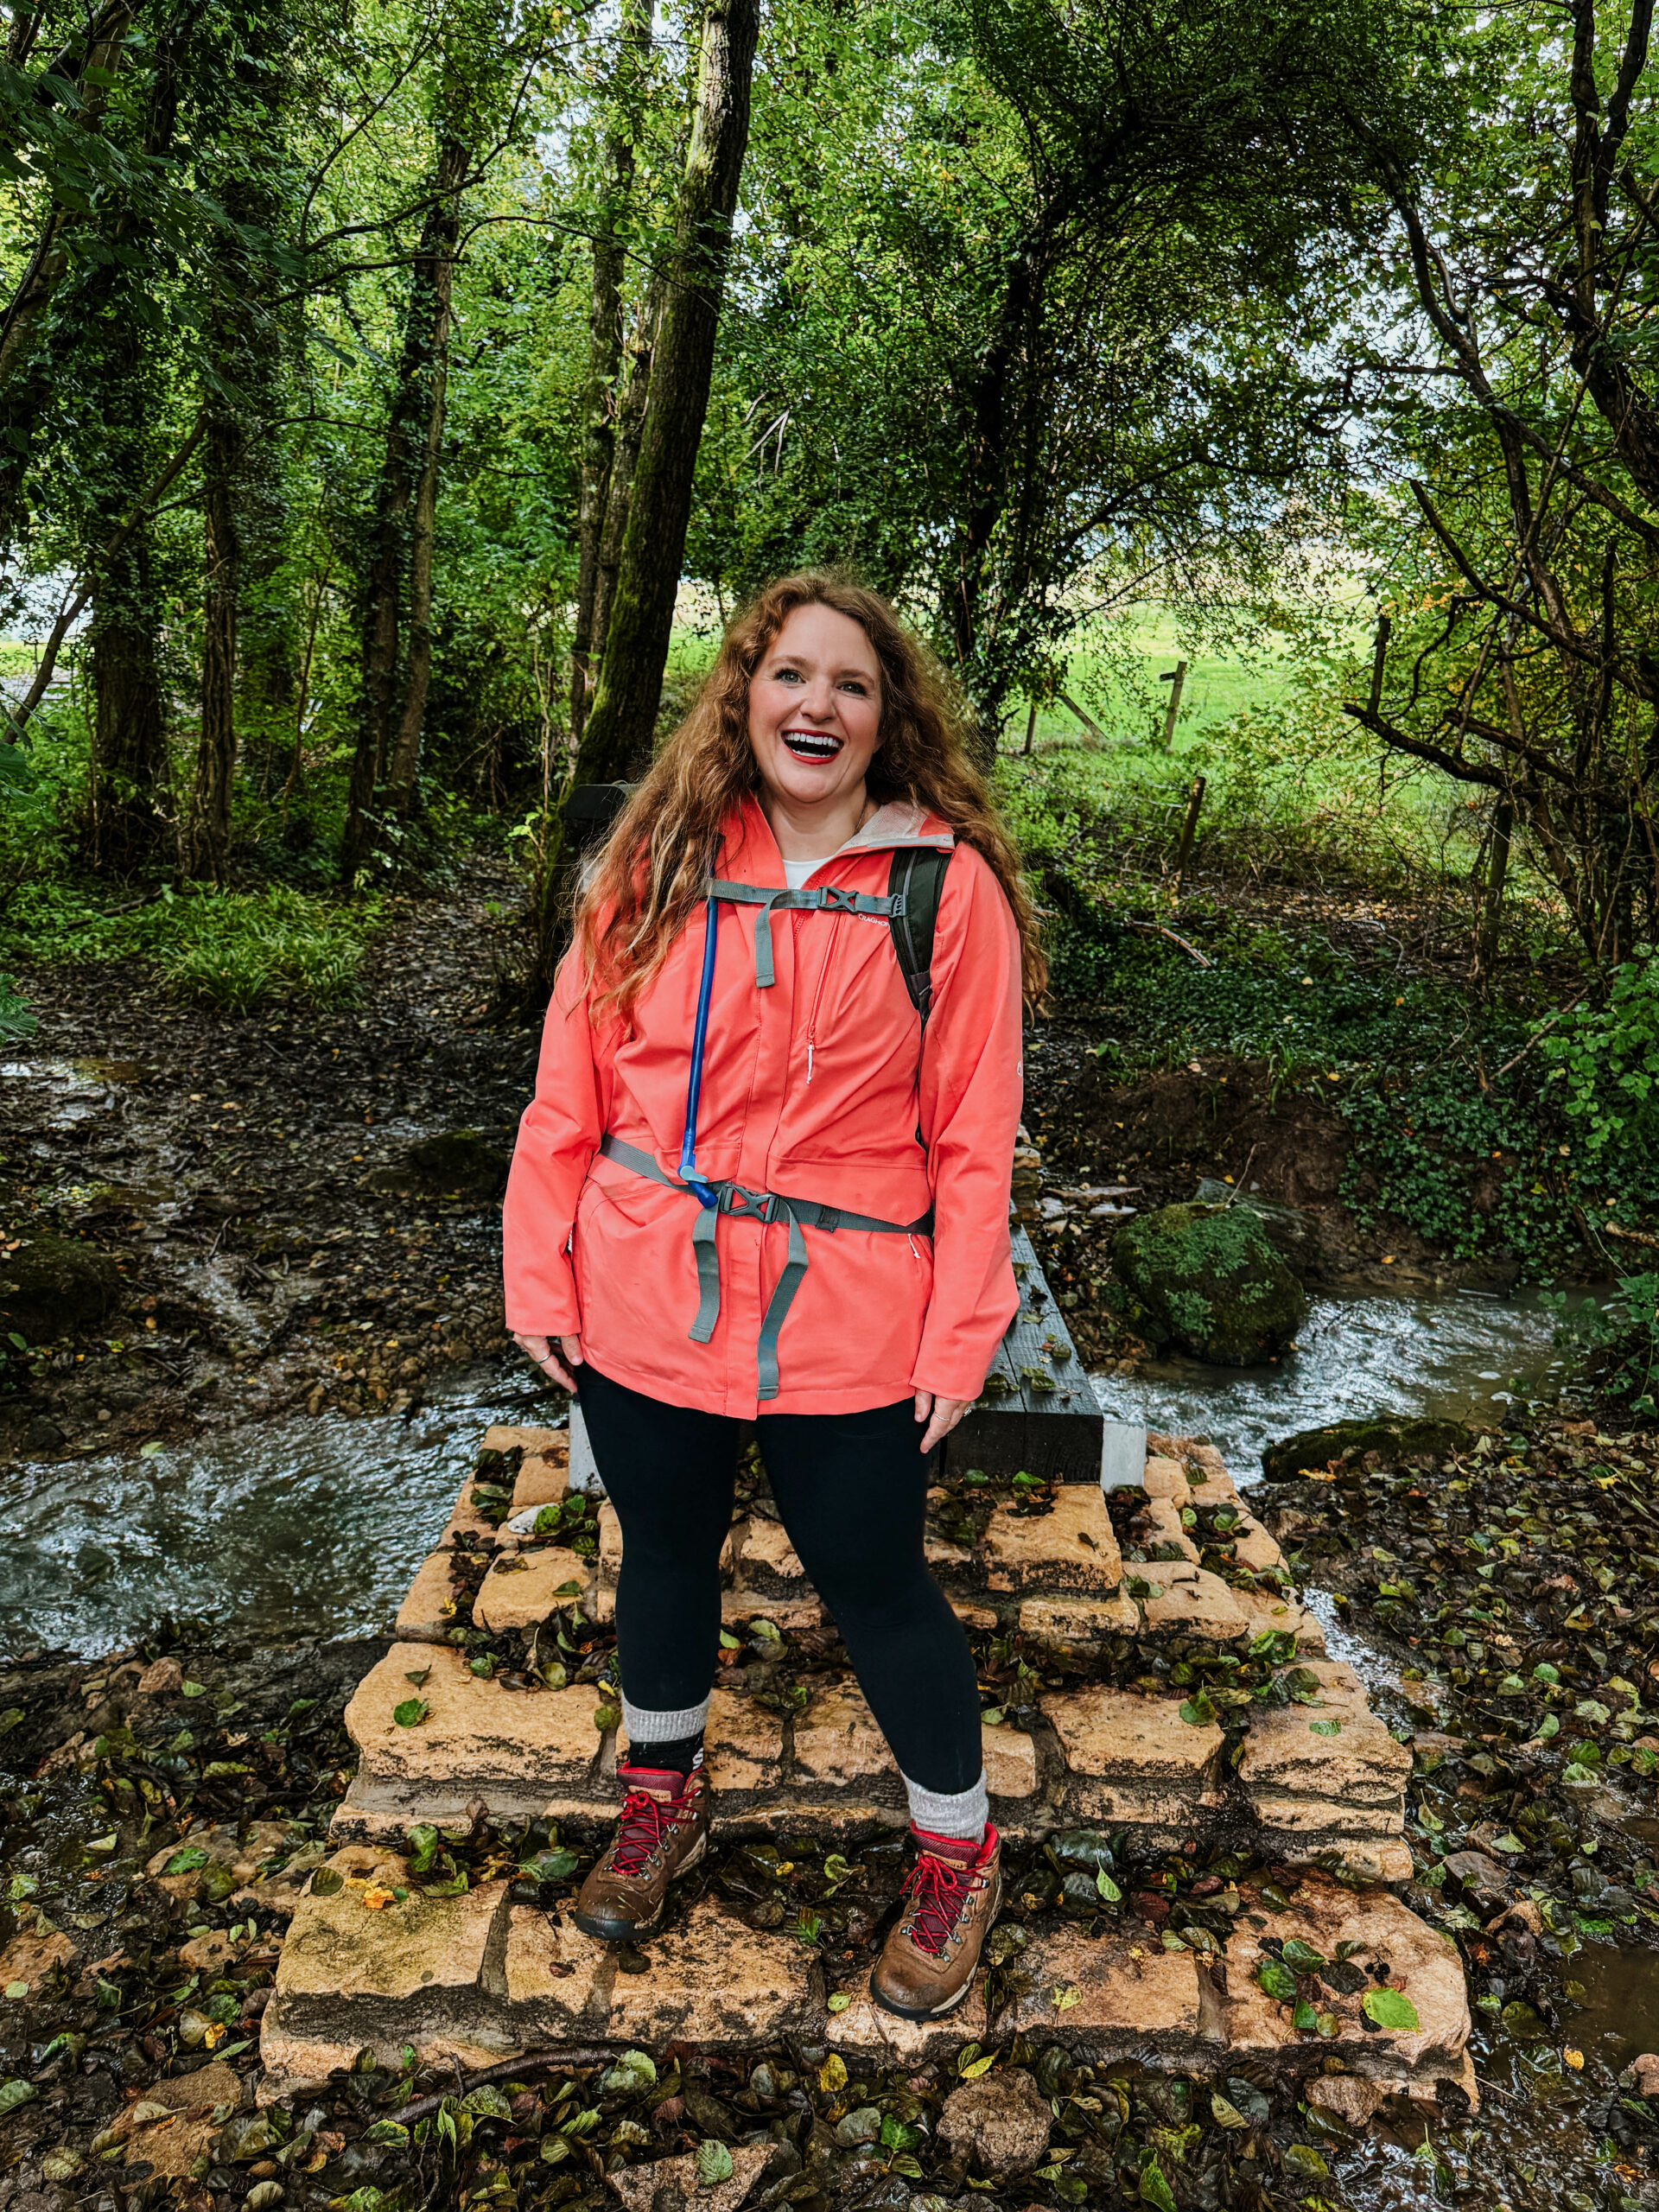
- Waterproof jacket and pants (essential in England!)
- Hiking Poles (essential for me!)
- Layers for warmth (merino wool is your friend)
- Leggings
- Camelbak for water
- Snacks (energy bars, trail mix, etc.)
- Navigation (OS Maps app, AllTrails, or a paper map)
- Cash and credit card (some rural pubs don’t take cards)
- Portable Charger
- Sunscreen
Everything I recommend to hike with here.
If you use a luggage transfer service, you’ll only need to carry your day essentials, which makes the walk much easier and more enjoyable. I detail out all the luggage transfer services and places I stayed along the way here.
Where to Stay Along the Cotswold Way
There’s something so rewarding about finishing a long walking day and checking into a cozy inn or B&B.

Accommodation options along the trail include:
- Country inns with roaring fireplaces
- Bed and breakfasts offering full English breakfasts
- Boutique hotels in historic towns
- Farm stays with fields stretching out for miles
I list every single place I stayed here!
Important tip: Book early, especially in peak seasons! Some of the smaller villages have very limited accommodation options.
My Video Diary of Walking the Cotswold Way
I catalogued my journey of walking the Cotswold Way on Instagram so you can see what each day was really like!
My 10-Day Cotswold Way Itinerary (At a Glance)
Here’s a quick look at how I broke down my walk. (Full details are in my paid guide!) See my favorite villages in the Cotswolds, here!
Day 1: Chipping Campden to Broadway (8 miles)
Highlight: Climbing up to Broadway Tower with panoramic views across Worcestershire and the Malverns.
Day 2: Broadway to Winchcombe (15.5 miles)
Highlight: Exploring the charming town of Winchcombe, with its medieval streets and nearby Sudeley Castle.
Day 3: Winchcombe to Cheltenham (11 miles)
Highlight: Walking along the dramatic escarpment with sweeping views and arriving in the spa town of Cheltenham.
Day 4: Cheltenham to Birdlip (12 miles)
Highlight: Quiet countryside trails leading to Crickley Hill, an ancient hillfort with breathtaking views.
Day 5: Birdlip to Painswick (10 miles)
Highlight: Seeing the famous 99 yew trees at St Mary’s Church in the “Queen of the Cotswolds.”
Day 6: Painswick to Stonehouse (10 miles)
Highlight: Walking through sun-dappled woodlands and arriving at a historic hotel mentioned in the Domesday Book.
Day 7: Stonehouse to Wotton-under-Edge (13.5 miles)
Highlight: Climbing to the Tyndale Monument and soaking up some of the best views of the walk.
Day 8: Wotton-under-Edge to Old Sodbury (13.5 miles)
Highlight: Crossing remote farmland and passing ancient drovers’ ponds—plus a cozy pub dinner at day’s end.
Day 9: Old Sodbury to Cold Ashton (8.5 miles)
Highlight: Reaching Horton Court, a stunning medieval manor (and filming location for many period dramas).
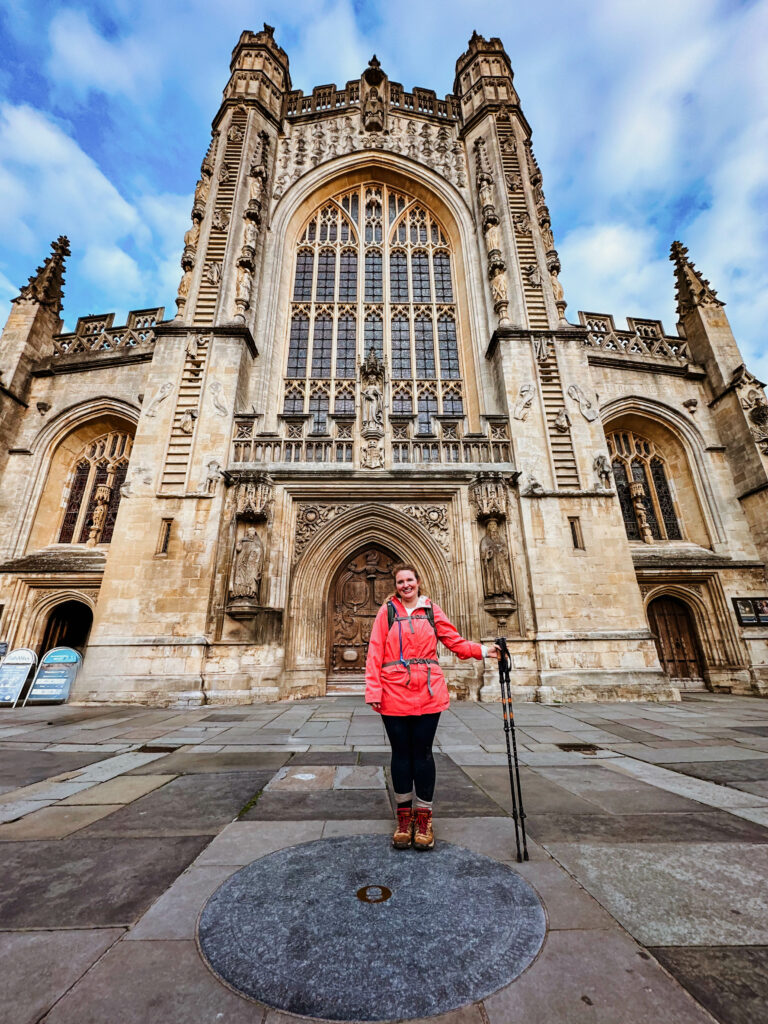
Day 10: Cold Ashton to Bath (10 miles)
Highlight: The grand arrival into Bath, walking past the Royal Crescent and feeling like you’ve stepped into a Jane Austen novel.

My Top Tips for Walking the Cotswold Way

- Start slow: Especially on the first couple of days—your body needs to adjust.
- Use a luggage transfer: It’s worth every penny.
- Don’t overpack: You’ll regret it by mile 50.
- Plan snack stops: Some sections have long gaps without shops or cafes.
- Enjoy the small moments: A friendly wave from a farmer, a field glowing in the late afternoon sun—these were my favorite memories.
- TRAIN. Train ahead of time. I’ve seen too many videos and stories of people not having a good time because they just did it without training.
Cotswold Way Updates for 2026
Planning to walk the Cotswold Way in 2026? Here are a few updates to keep in mind:
🗓️ Events: The Cotswold Way Relay continues annually and may impact certain trail sections in June. A fun event
🛤️ Route Diversions: A few temporary and permanent trail diversions remain in place near areas like North Nibley, Tormarton, and Farfield Dursley. Always check the National Trails website before you walk for the most up-to-date route info.
🥾 Trail Surface Improvements: Several sections have been resurfaced to improve drainage, especially in previously muddy areas like Haresfield Beacon and Standish Woods.
📱 Navigation: While the trail is well-marked, summer overgrowth can hide signs—download a GPX file or use an app like OS Maps or AllTrails as a backup.
🛏️ Accommodation: With the Cotswold Way growing in popularity, many inns and B&Bs are booking up early for 2026—especially in towns like Winchcombe and Painswick. Book 3–6 months ahead when possible. to witness—or avoid if you prefer a quieter walk!
👉 For the most reliable trail information, maps, and seasonal updates, visit the official Cotswold Way page on National Trails
Final Thoughts: Why the Cotswold Way Stays With You
Walking the Cotswold Way isn’t just about covering miles. It’s about walking through layers of time, through stories written into the hills and stones. It’s about finding stillness in a noisy world, connecting to something bigger, slower, and somehow more real.
If you dream of a trip filled with beauty, history, and a good bit of muddy adventure, this is your sign.
And if you’d like even more help (like my detailed step-by-step itinerary, hotel and restaurant picks, packing lists, GPS downloads, and real-world advice), grab my paid guide here. It’s like having a friendly trail buddy right in your pocket.
Hope to see you on the trail.
The post Walking the Cotswold Way Full Guide: Everything You Need to Know appeared first on Helene in Between.